

Any home remodel project is certain to run into unforeseen circumstances, especially if it’s a house that hasn’t been updated in nearly nearly 50 years.
With the plumbing work finished on our kitchen project, we moved on to the electrical work. Running new wires for outlets is simple and straightforward…usually. We’ve come to the realization that the initial wiring was performed by 1) the laziest electrician in the world or 2) the cheapest. In our case, the two must have gone hand-in-hand. It was such a mess, that I not sure I can explain it in written form, but here goes…
The problem(s)
Shockingly (pun intended), we found that only two circuits (breakers) controlled every light, light switch and outlet in the entire upstairs of the house.
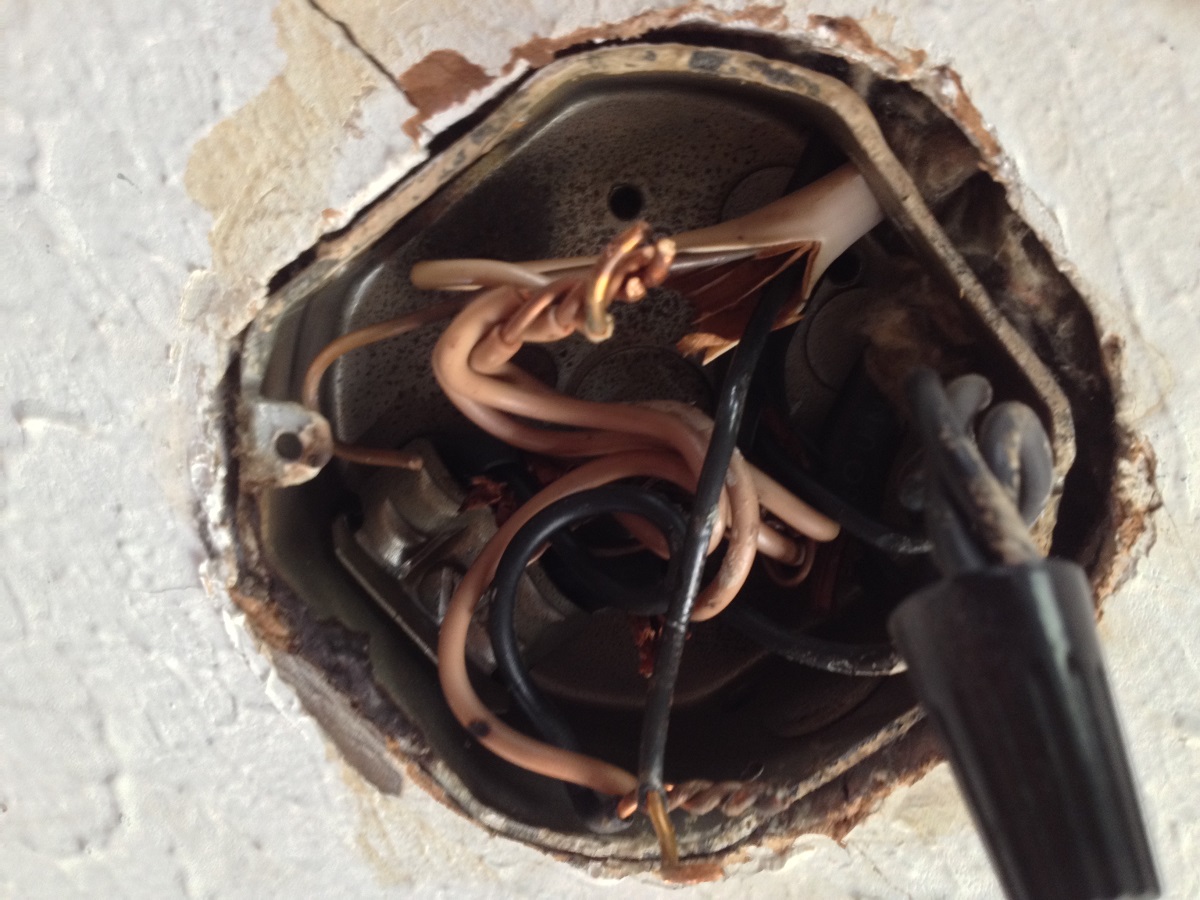
A nightmare of wires!
That includes the kitchen, dining room, living room, three bedrooms and two baths. And with a few additional outlets and lights thrown in over the years, the wiring connections were both against code and borderline overloading the circuit. I’m amazed that we have never thrown a breaker!
In one light fixture in the kitchen, we had three sets of wires crammed into a small ceiling box. One of the strands had five wires tied together! The light in the hallway was worse. Five separate electric cables junctioned together in a small 3″ by 3″ ceiling box.

Click on image to see the wiring layout in the attic.
The living room and front two bedrooms were on one circuit, with the remaining six rooms on the other. To top it all off, the two circuits were connected electrically via a “jumper wire” to the 3-way light switch in the hallway. This meant that the two circuits were tied together, posing a hidden electrical shock hazard.
To get an accurate map of the wiring, I first spent several hours running new wiring and installing lighting in the attic because a flashlight was just too small for the job ahead. Then, for the next 1-1/2 days, I crawled on my hands and knees, physically tracing every wire, under 8″ of blown insulation, and recording it on the diagram above.
I took pictures of the ceiling boxes that had multiple wires combinations and labeled what wires were in what boxes so that when it came time to add, remove or replace a wire, I wouldn’t get any crossed.
The solution
We began by inspecting the electrical box.
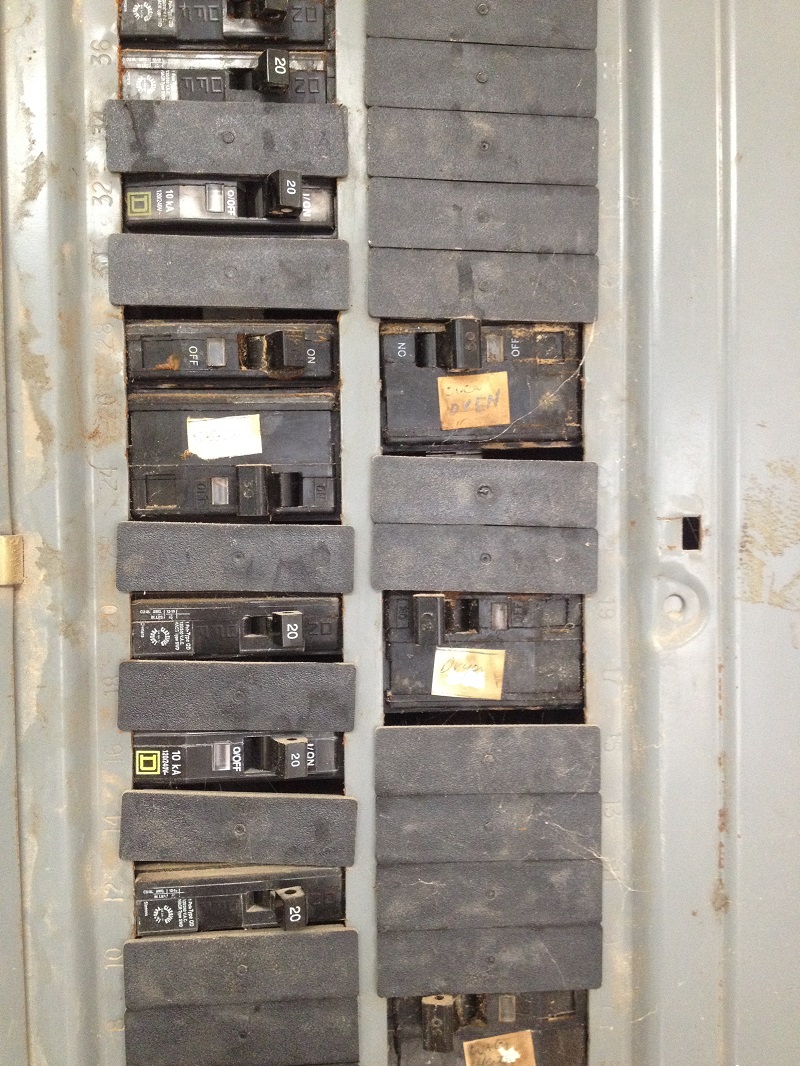
This is a scary mess!
Who knows why, but every breaker knock-out in the panel cover has been removed, leaving huge, open gaps between breakers. A few years ago, I inserted plastic “spacers” to eliminate a potential shock hazard. At right, you can it’s safer, but leaves a lot to be desired. Instead of replacing the box (at great expense), an electrician friend suggested simply replacing some of the breakers with new ones and using the old ones as “dummies” to fill in the empty spaces.
I added five new circuit breakers to split the load on the current ones and to isolate the new hot wall receptacles and new kitchen lights on their own circuits. As I removed, moved and added outlets and switches in the walls, I replaced the old metal boxes with shiny new plastic ones whenever possible.
Finally, I ran wiring for the new oven placement and a television cable to the hot wall so Mrs. Sawdust Inn could watch television while cooking. As a bonus, one of the kitchen receptacles has a USB port for charging her phone and iPad.
All that is left is running wiring for the new light switches, but we’ll take care of that once the recessed light placements are finalized.
The next step in our project is to frame out the laundry center and prepare for sheetrock.
Below are a couple of pictures from the same view, to help you see how far we’ve come.
Happy Woodworking!
-

- Before
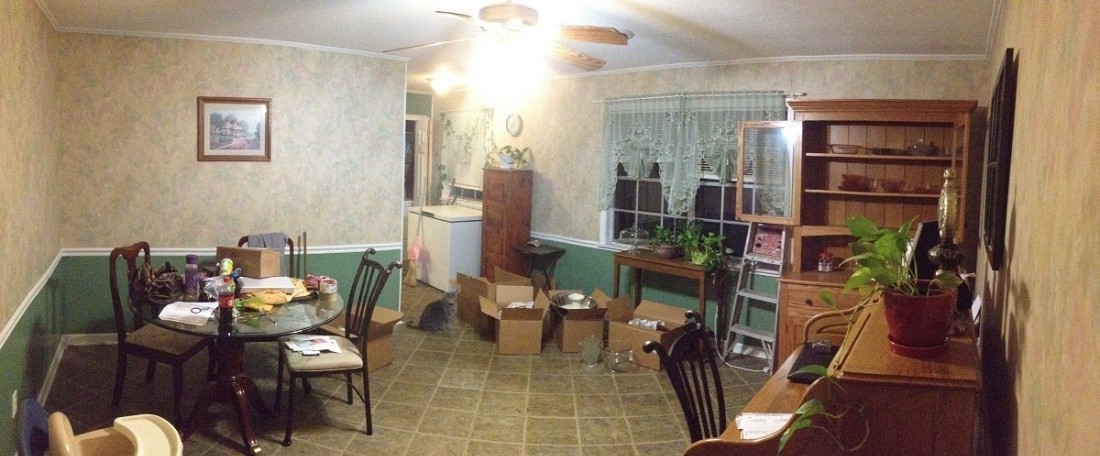
-

- Current

Be the first to comment on "A new Kitchen – Part 3 – Electrical"