
After tearing out the hot wall and the flooring, things slowed to a crawl for a couple of weeks. Family time and a stomach bug made for poor progress, but we have something to show those interested in our project. And, of course, we can’t let our regular woodworking hobby projects get neglected! Remodeling can be a long journey and I’m out to prove it!
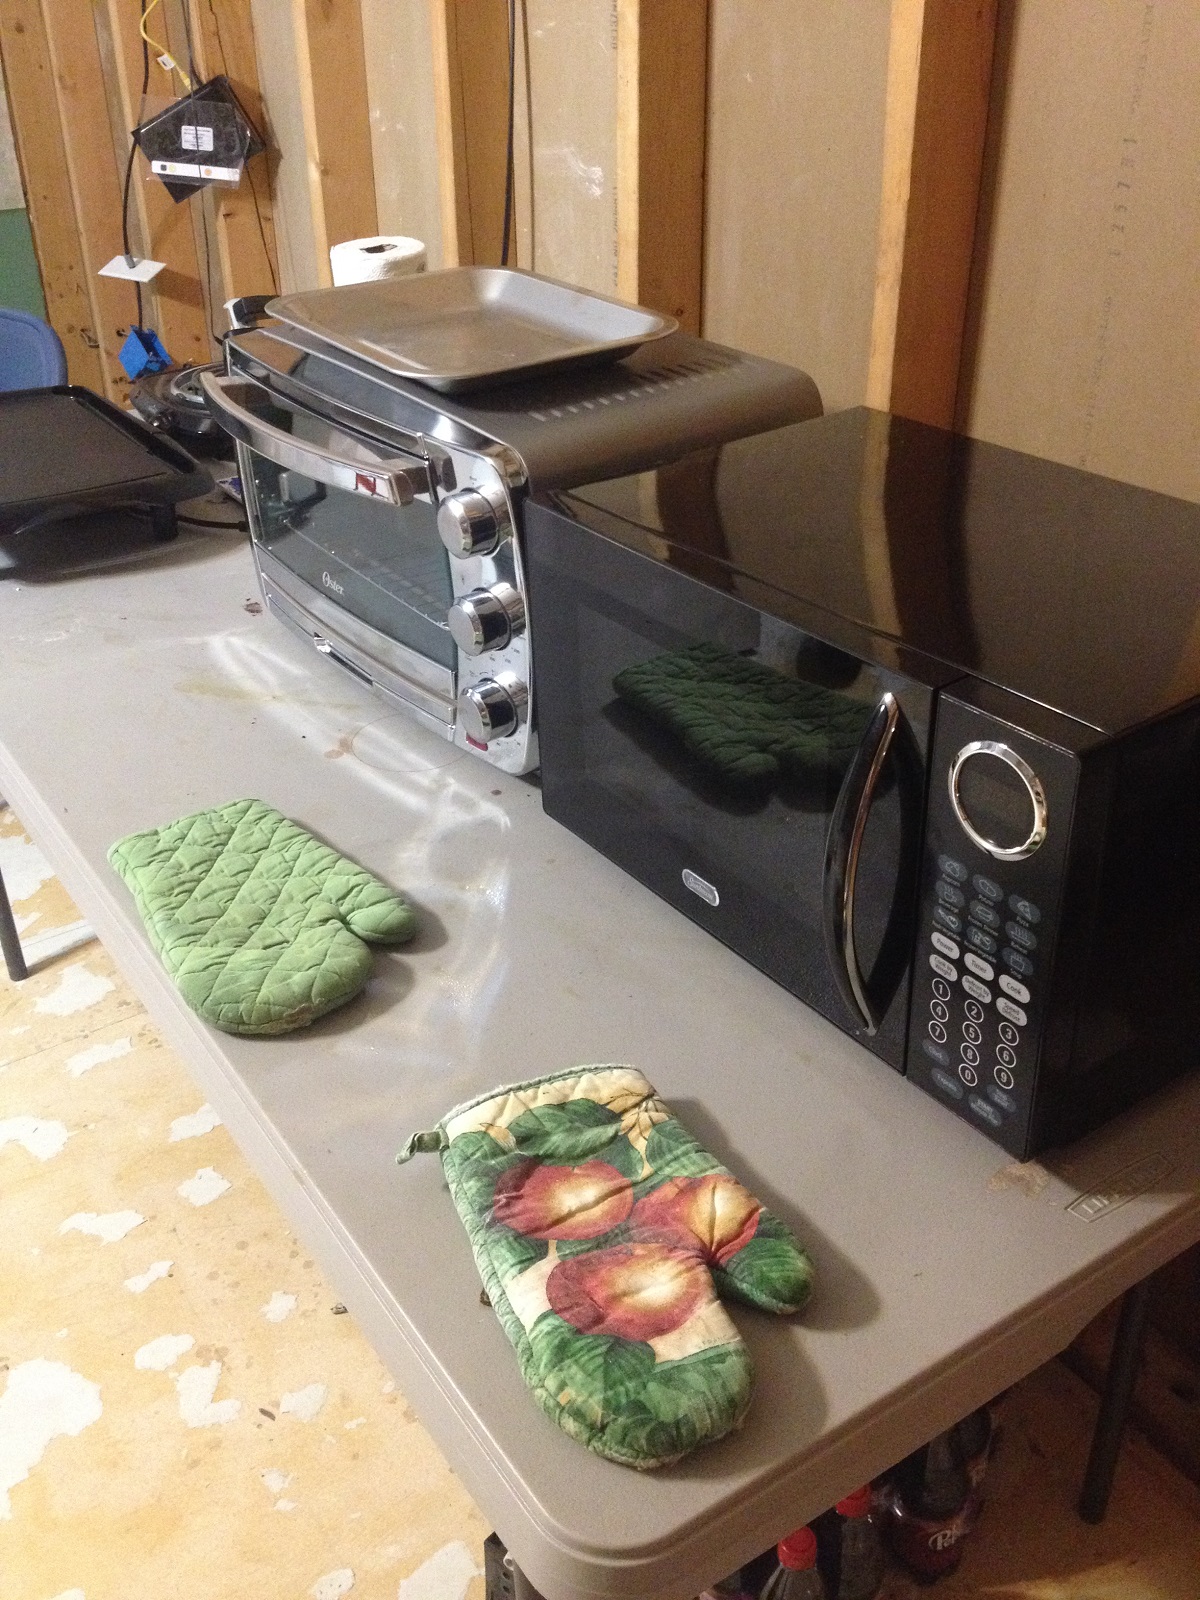 To make living somewhat comfortable over the next few months, we purchased a small toaster oven, a mini-microwave and a hot plate. Black Friday was perfect for finding great deals to help us keep our inconvenience to a minimum. We set them all up on a small fold-out table that can be easily moved from one area to another, depending on what part of the room we are working on.
In addition, we bought a small rack to hold all the dry goods that we use most often. The bulk of what was in the cabinets are being stored in boxes in the guest room. Not to worry, we still have sleeping bags and an air mattress if you decide to stop by for an overnight visit!
Since the last report, we have removed the the wet wall and are still finalizing the plans for the new kitchen layout.
Here is a progression of the most recent work:
-
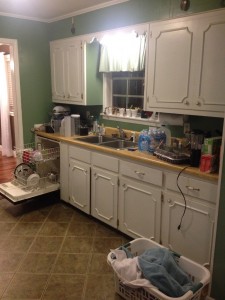
- Before
-

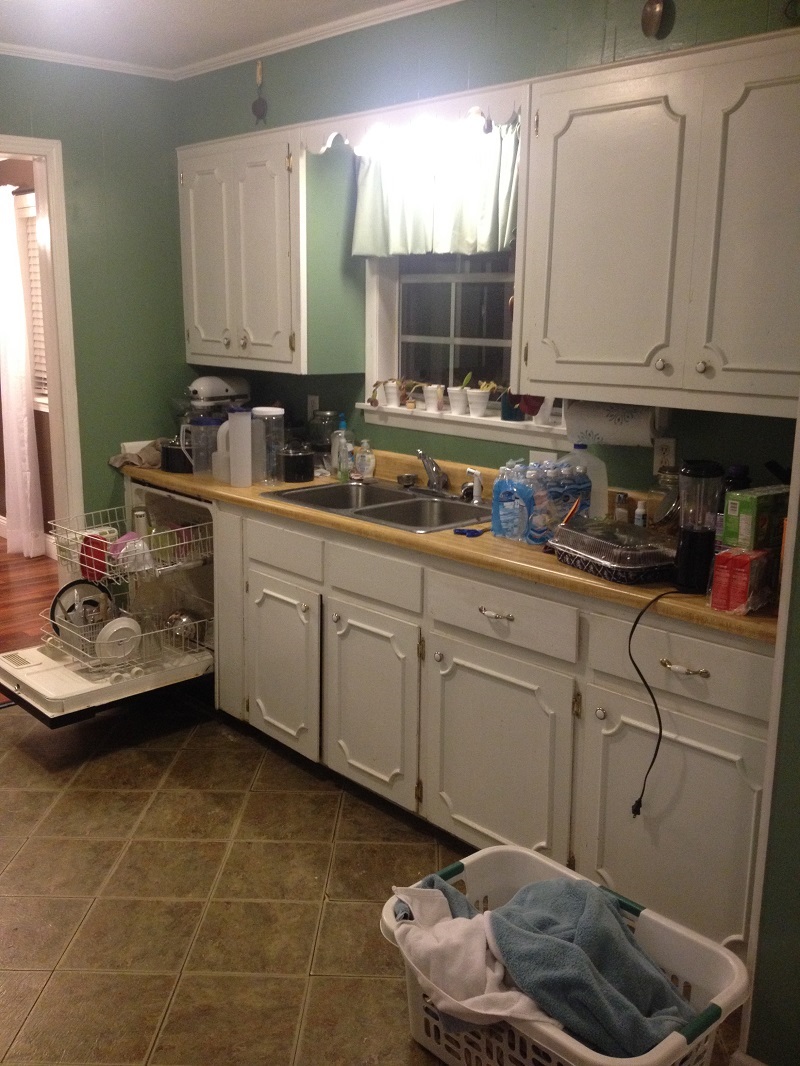
- During
-

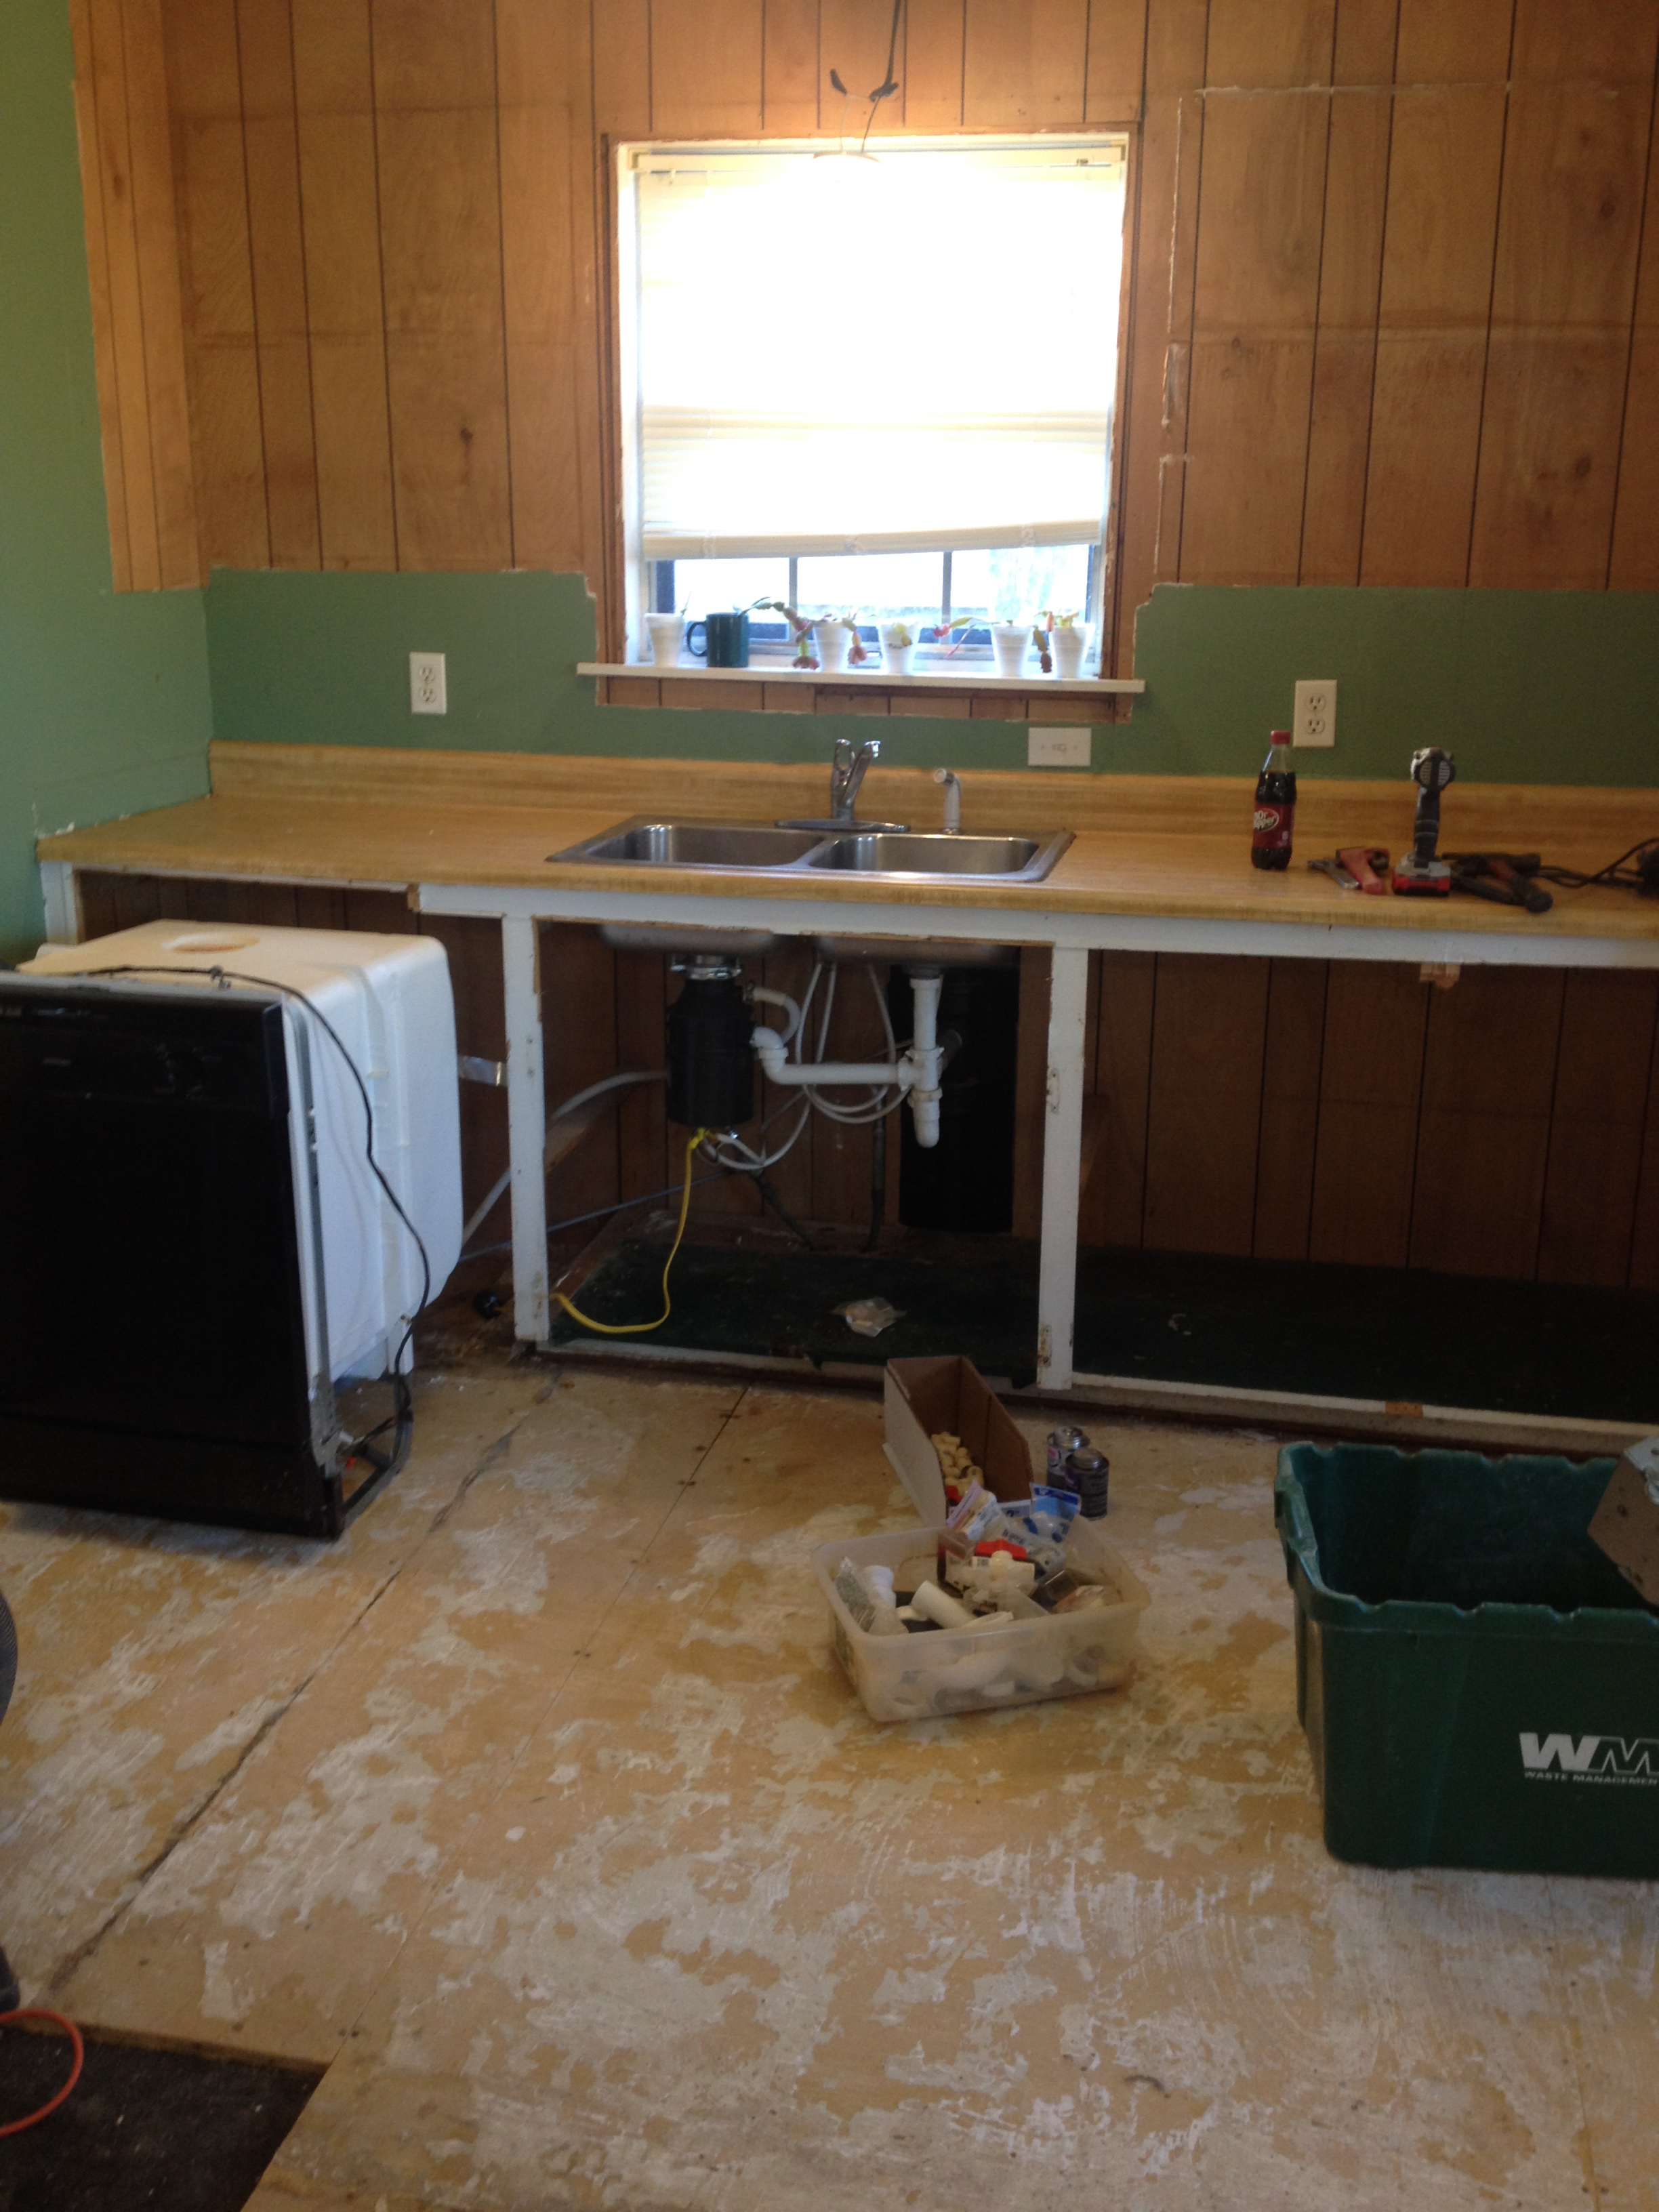
- After…our temporary sink!
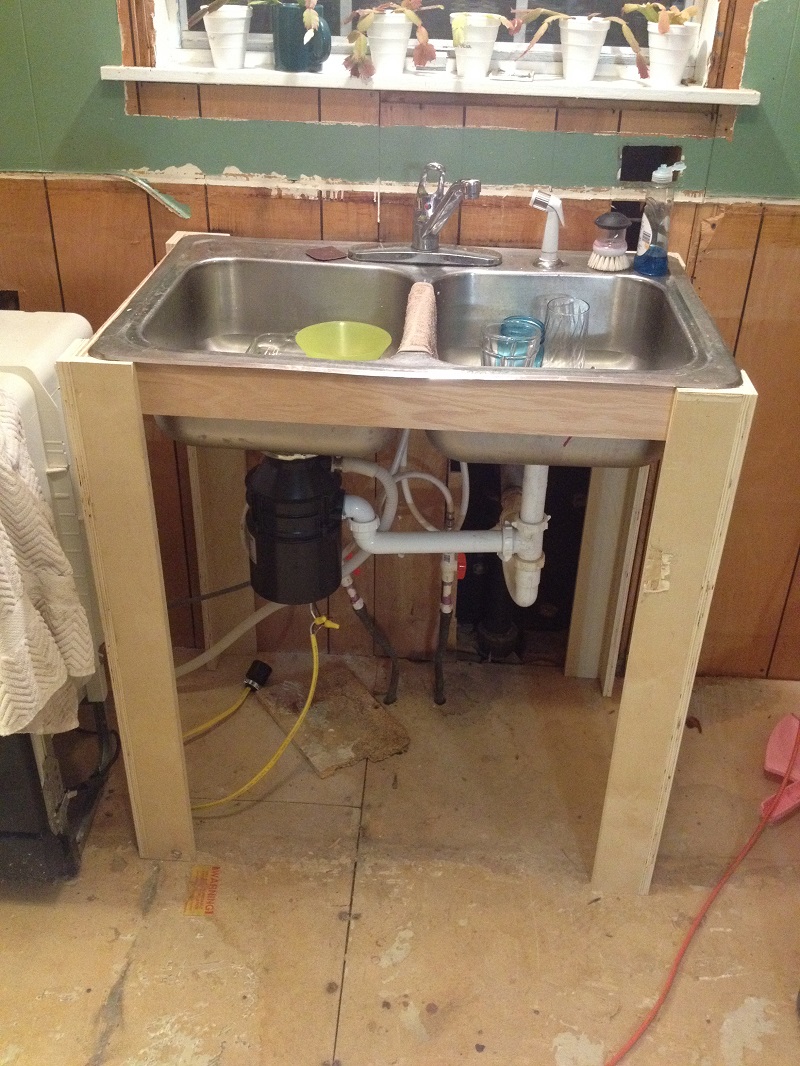
One element of the project that was non-negotiable was a sink. It was a “must-have” convenience that has to be available during the entire remodel. To that end, we built a simple plywood frame for the sink that allows us to quickly connect and dis-connect the plumbing at will. At present, we are also keeping the dishwasher and disposal hooked up.
The original plan was to replace the old cast iron drain pipes that came with the house. After inspecting the pipe and considering the amount of work involved, we decided that “if it ain’t broke, don’t fix it.” The pipe was solid and clean, so we saved at least two day’s work and a few hundred dollars. I was happy with the former, Mrs. Sawdust Inn with the latter.
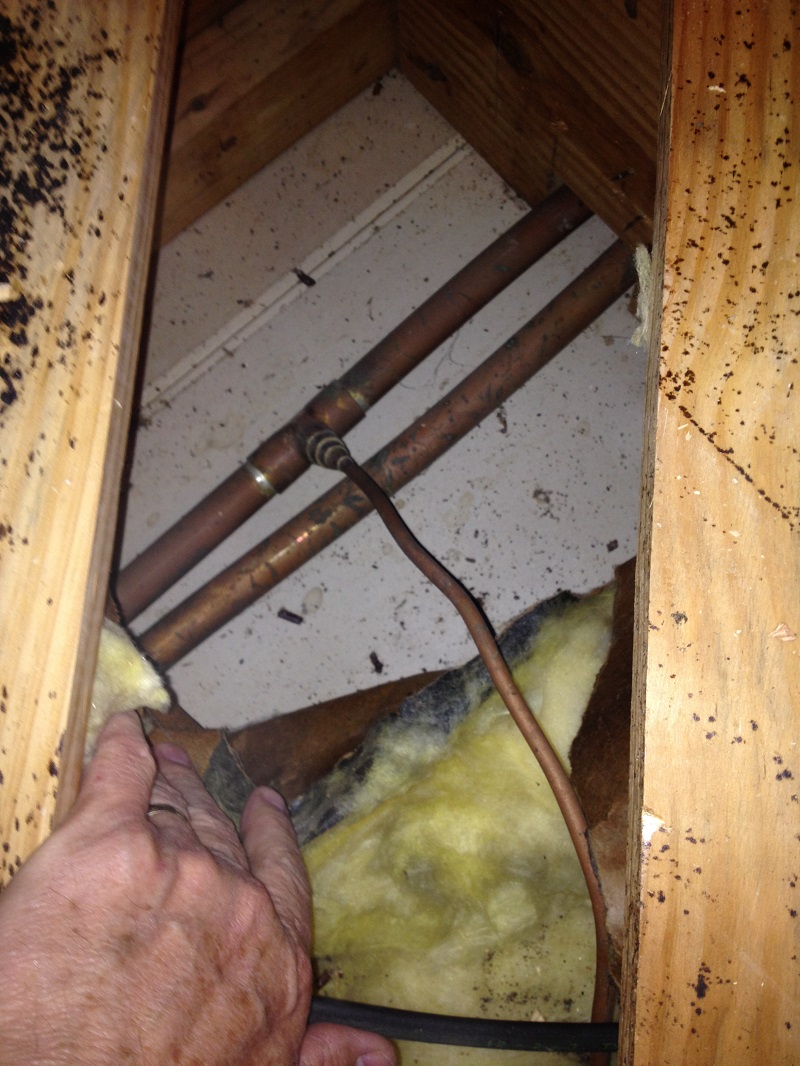
Ice-maker line under the floor.
We were able to easily locate the water line feeding the refrigerator’s ice-maker under the floor. Fortunately, the new fridge will be on the opposite wall of the room and in line with the floor joists running perpendicular to the new placement. This will make installing the 1/4″ copper line feeding the appliance a snap!
Speaking of plumbing…when this house was built, either the builder was cutting costs or plumbers didn’t believe is shut-off valves. Every plumbing hook-up in the kitchen was a direct connection, meaning we must shut the water off at the main valve next to the road to do any work. As we move along in this project, we are installing shut-off valves at every connection. The electrical wiring is a similar discombobulation, but more on that later.
There are a few patches in the floor to be repaired before framing for a new laundry closet and installing new wiring.
But for now, it’s back to the shop for a few days to finish a few Christmas gift projects!
Happy Woodworking!
Read Part 1 here.
Read Part 3 – Electrical here.
Read Part 3 – Other items here.
Be the first to comment on "A new Kitchen – Part 2"