Our new kitchen area is 15 feet wide and 24 feet long. In our last blog, we explained that the area where the hot wall was had suffered an incredible amount of sagging. In some places the floor fell almost a full inch over a few feet span. The total area of the repair ended up being the entire width, but only 12 feet in length.
To correct the issue and make the floor level, we had two options. One, we could remove the drywall ceiling from the double-car garage (aka Sawdust Inn shop) below the kitchen, jack up the floor and install a few support posts. Because the table saw is directly underneath the area, this was not appealing. And, it would prohibit the next homeowner from parking a car in that bay of the garage.
Instead, we decided on option number two, to fix the problem from the top. With the weight now off of the area (refrigerator, stove, oven, cabinets and a wall), the joists have sagged about as much as they are going to. This will be an open area of the kitchen going forward, so weight will not be an issue.
Here’s what we did…
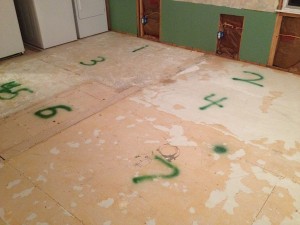
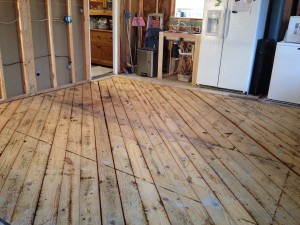
After scraping off one coat of vinyl tile squares and two coats of ugly linoleum, we removed the first layer of the floor, the particleboard. We numbered each piece as a road map for putting them back in. Under the particleboard was 1 x 6 lathing. These too, were numbered for replacement after the repair.
- Removing layers of floor covering
- Particleboard Underlayment
- Sub-floor -1 x 6 slatting
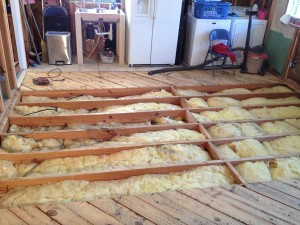
- Down to the joists
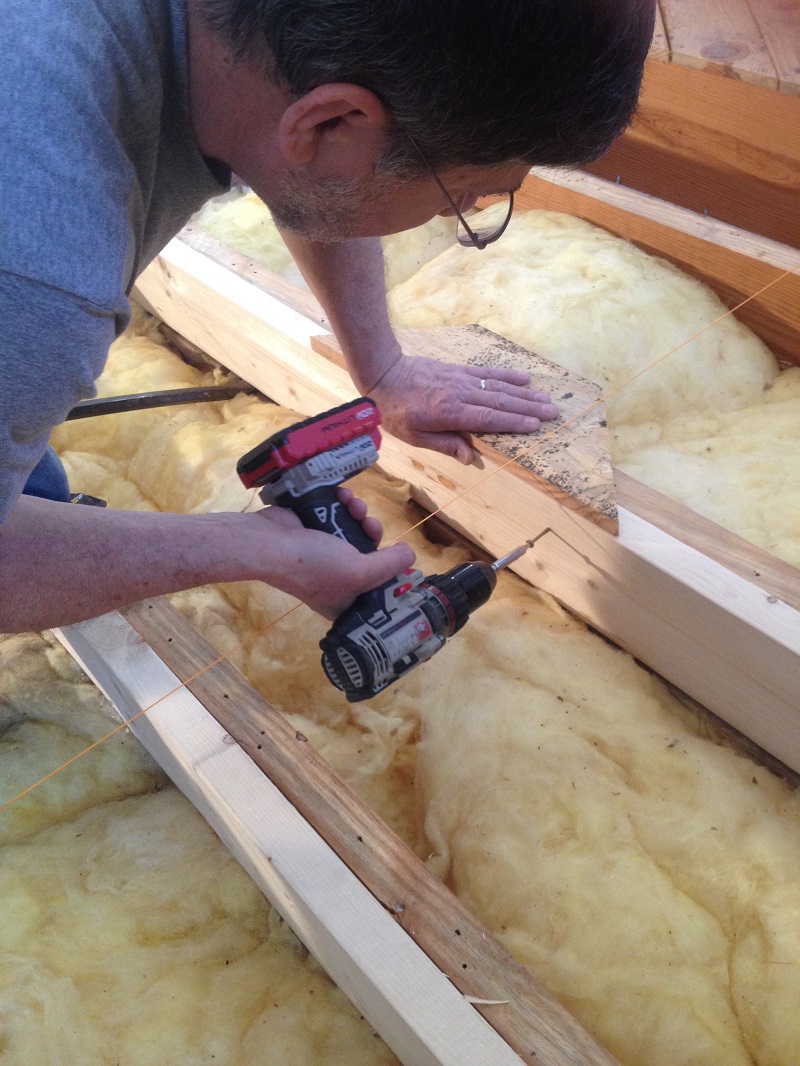
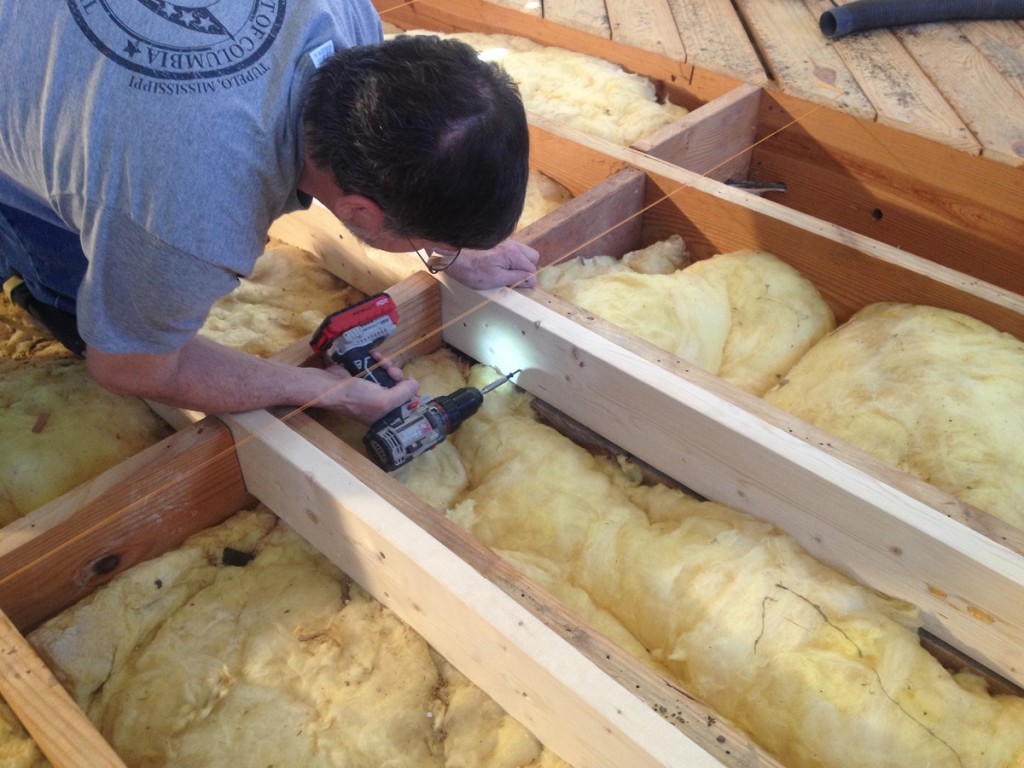
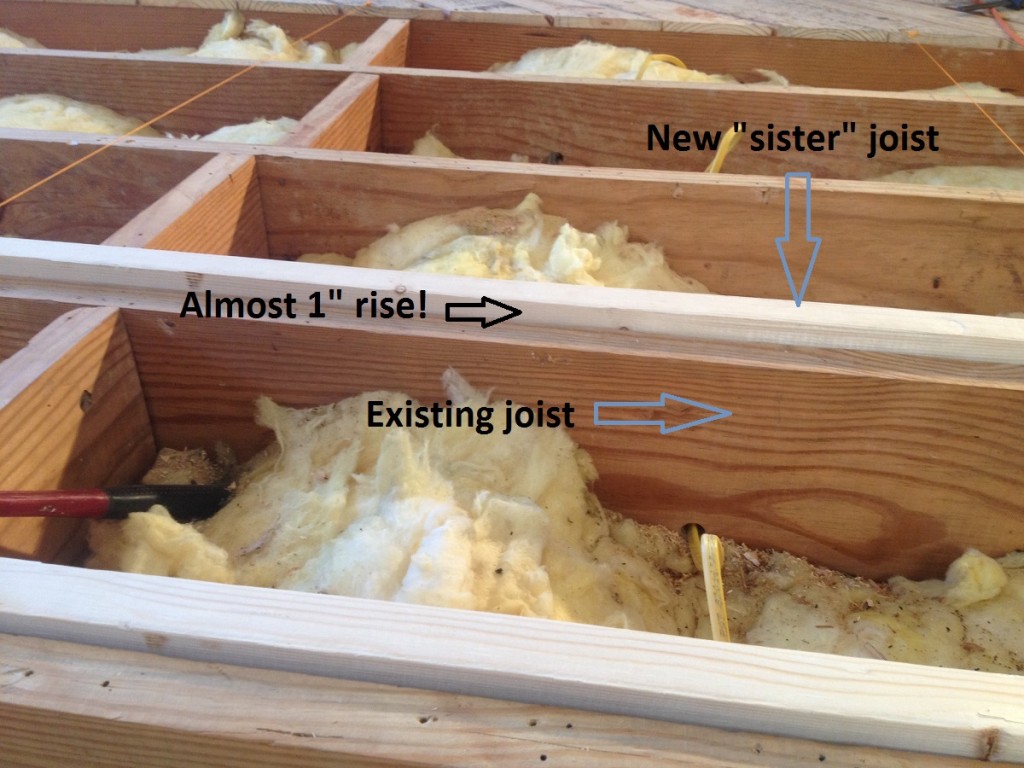
With the floor joists now exposed, we were able to string lines across the area as our level guide. We added 2 x 6 “sister” joists to the existing ones, bringing them up to the leveling strings. A “sister” joist is where you take a new joist and attach it directly to the existing joist, except that the new one is level (center picture below).
In some places, it was necessary to cut out for water and electrical lines. In addition, we added “cripples,” or cross-bracing, between the joists every four feet for additional strength (right photo below).
- Adding sister joists
- Sister joists being attached
- With cripples added
With the floor joists leveled, we screwed the lathing and particle board back in place. The floor is now rock-solid, level, and without the former “bounce” it used to have.
We spent about 30 labor hours on this task and it was well worth the effort. Had we hired someone to level the floor, we would have spent well over $1,000. By doing the work ourselves, it cost only the price of the materials…a mere $100.84.
The floor is now ready for tile, but that’s still a month or two away. The next step is putting up the new drywall.
Thanks for following along…and Happy Woodworking!
Read Part 5 here.



I am amazed at the level of expertise you have. If I weren’t following your project I wouldn’t even know what many of the words mean, like lathing, or (your use of the word) cripple:)
Thanks for the education.