
Read Part 1 here
Read Part 2 here
One of the two back panels.
Making the panels
Today, I put all the parts together to form the sides and back assemblies.
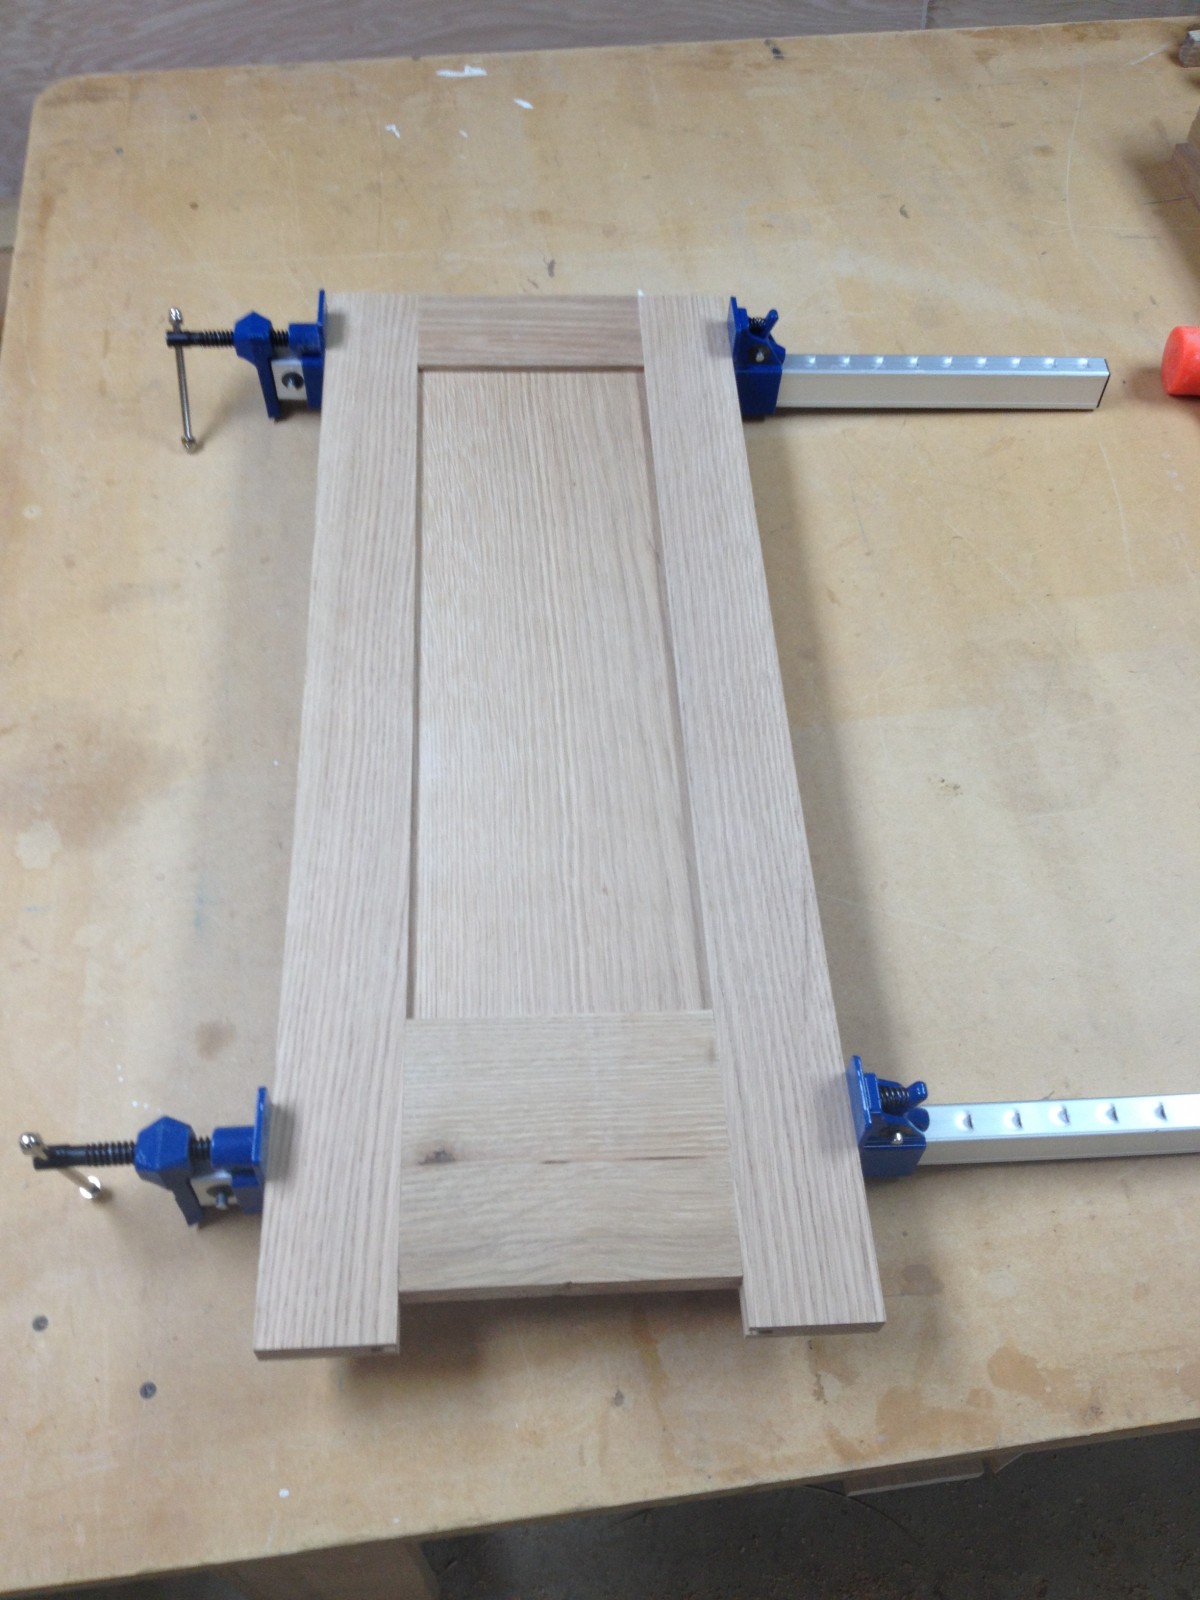
I started with the two back panels. These will attach to the side panels and make up the two base cabinets for the desk.
I’m limited on the number of clamps I have, so I could only glue up two panels at a time. The saying among woodworkers is true, you can never have too many clamps.
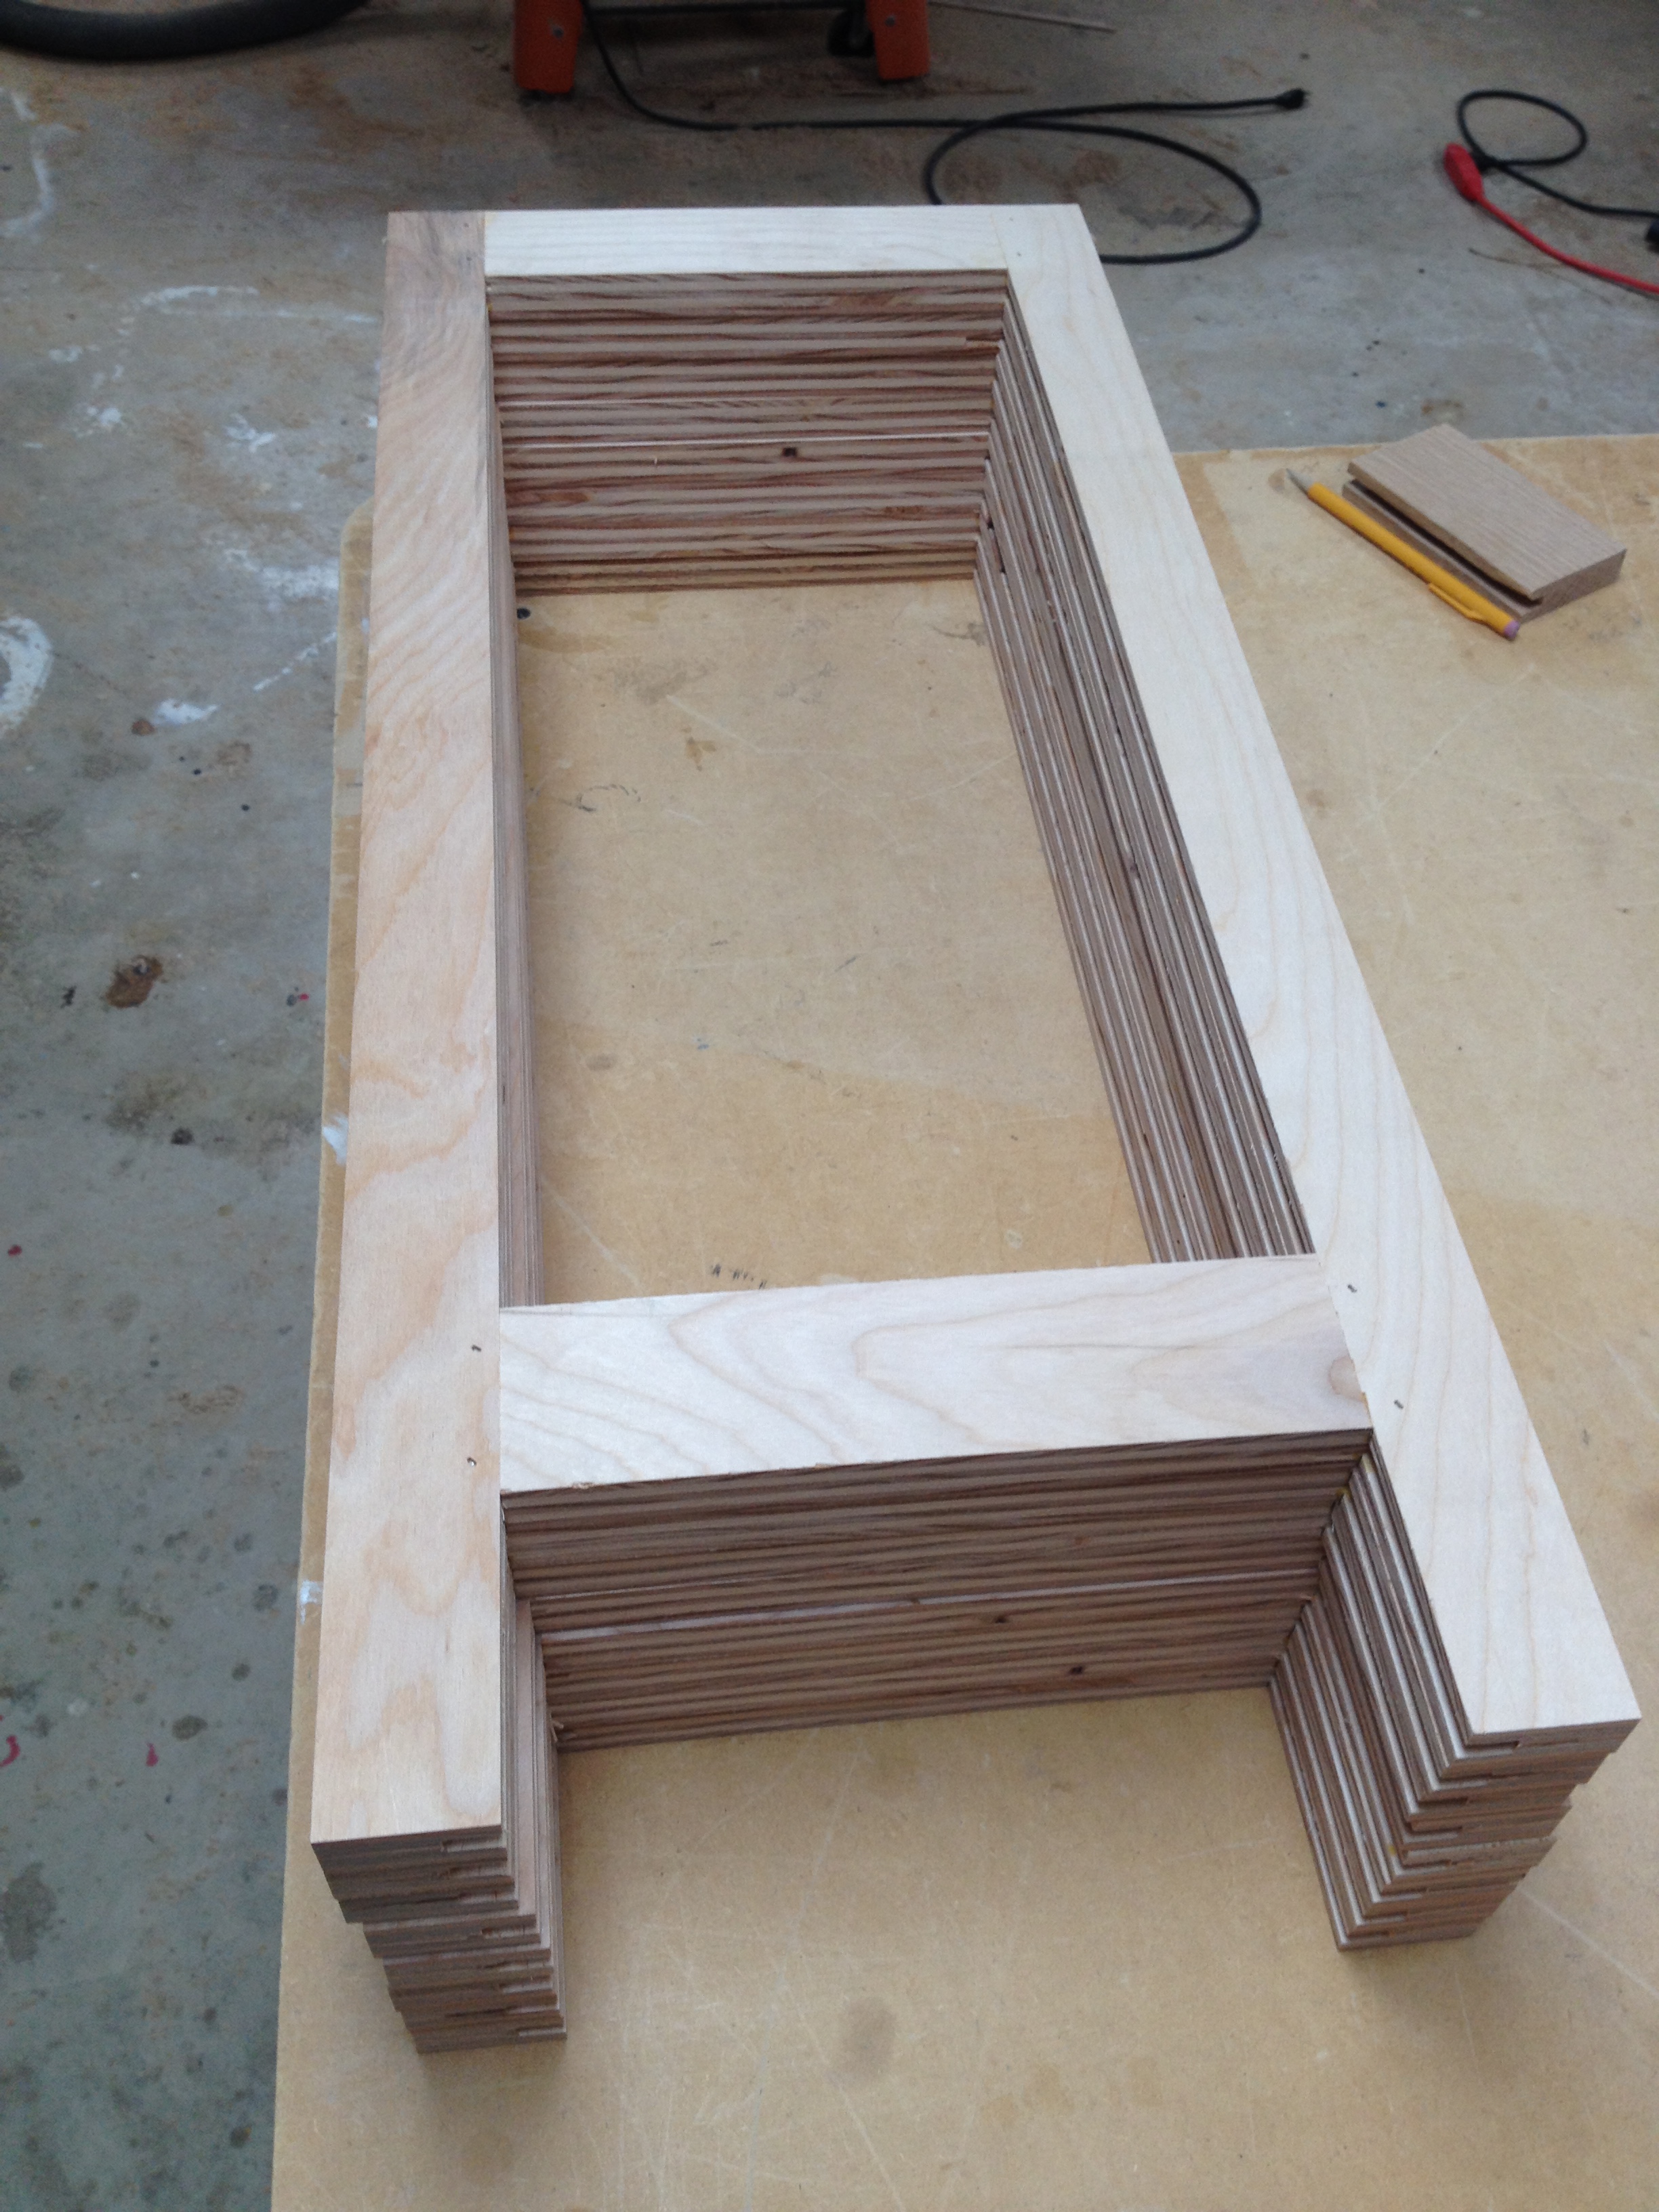
These frames are drawer dividers and connect the side and back panels.
While waiting for the glue to dry on the first two panels, I turned my attention to making eight drawer divider frames. These will not be seen and are used to help connect the side and back panels together into a single cabinet.
The parts were cut from a piece of birch plywood and connected together with stub tenon and mortise joinery.
Now back to gluing up the large side panels. Each one has nine individual parts. Each one has to be perfectly cut for the assembly to fit together and end up without gaps or out-of-square.
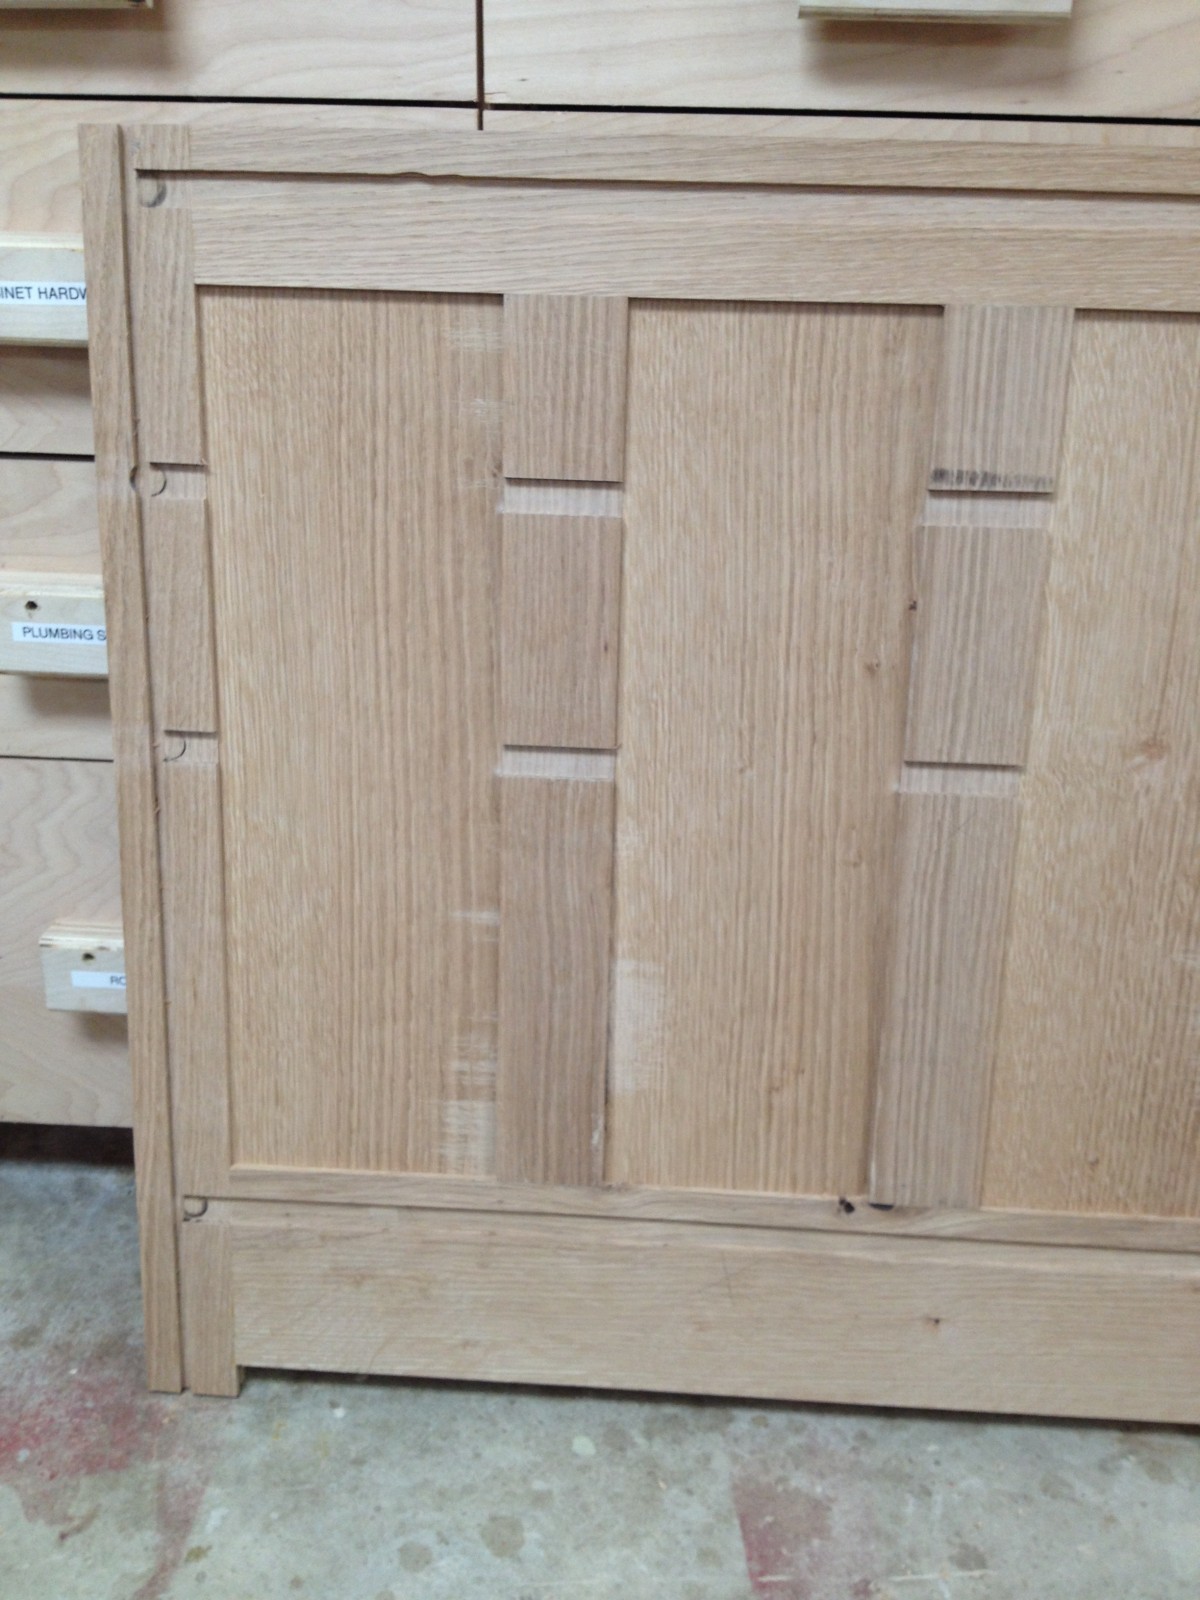
One of four side panels for the base cabinets.
Next, I cut grooves in the side panels to accept the drawer divider frames.
Time for a glue-up!
First, I glued the dividers into the slots on a side panel and set the back panel in place. Then I glued the other side panel in place and clamped it all up.
I also cut and sized eight solid wood pieces and installed them to the front of the dividers.
While the glued cabinets were drying, I made the two pull-out writing shelves. Every rolltop has to have pull-out shelves!
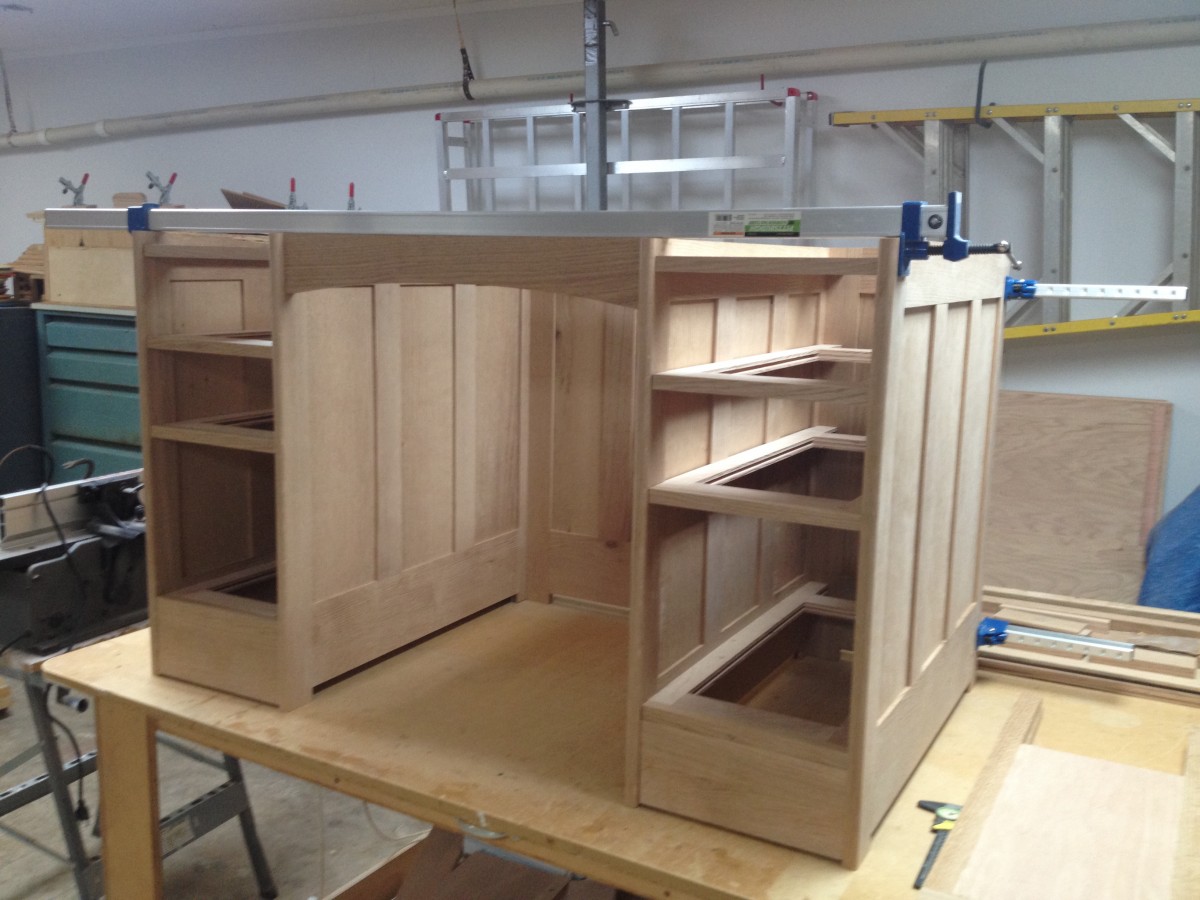
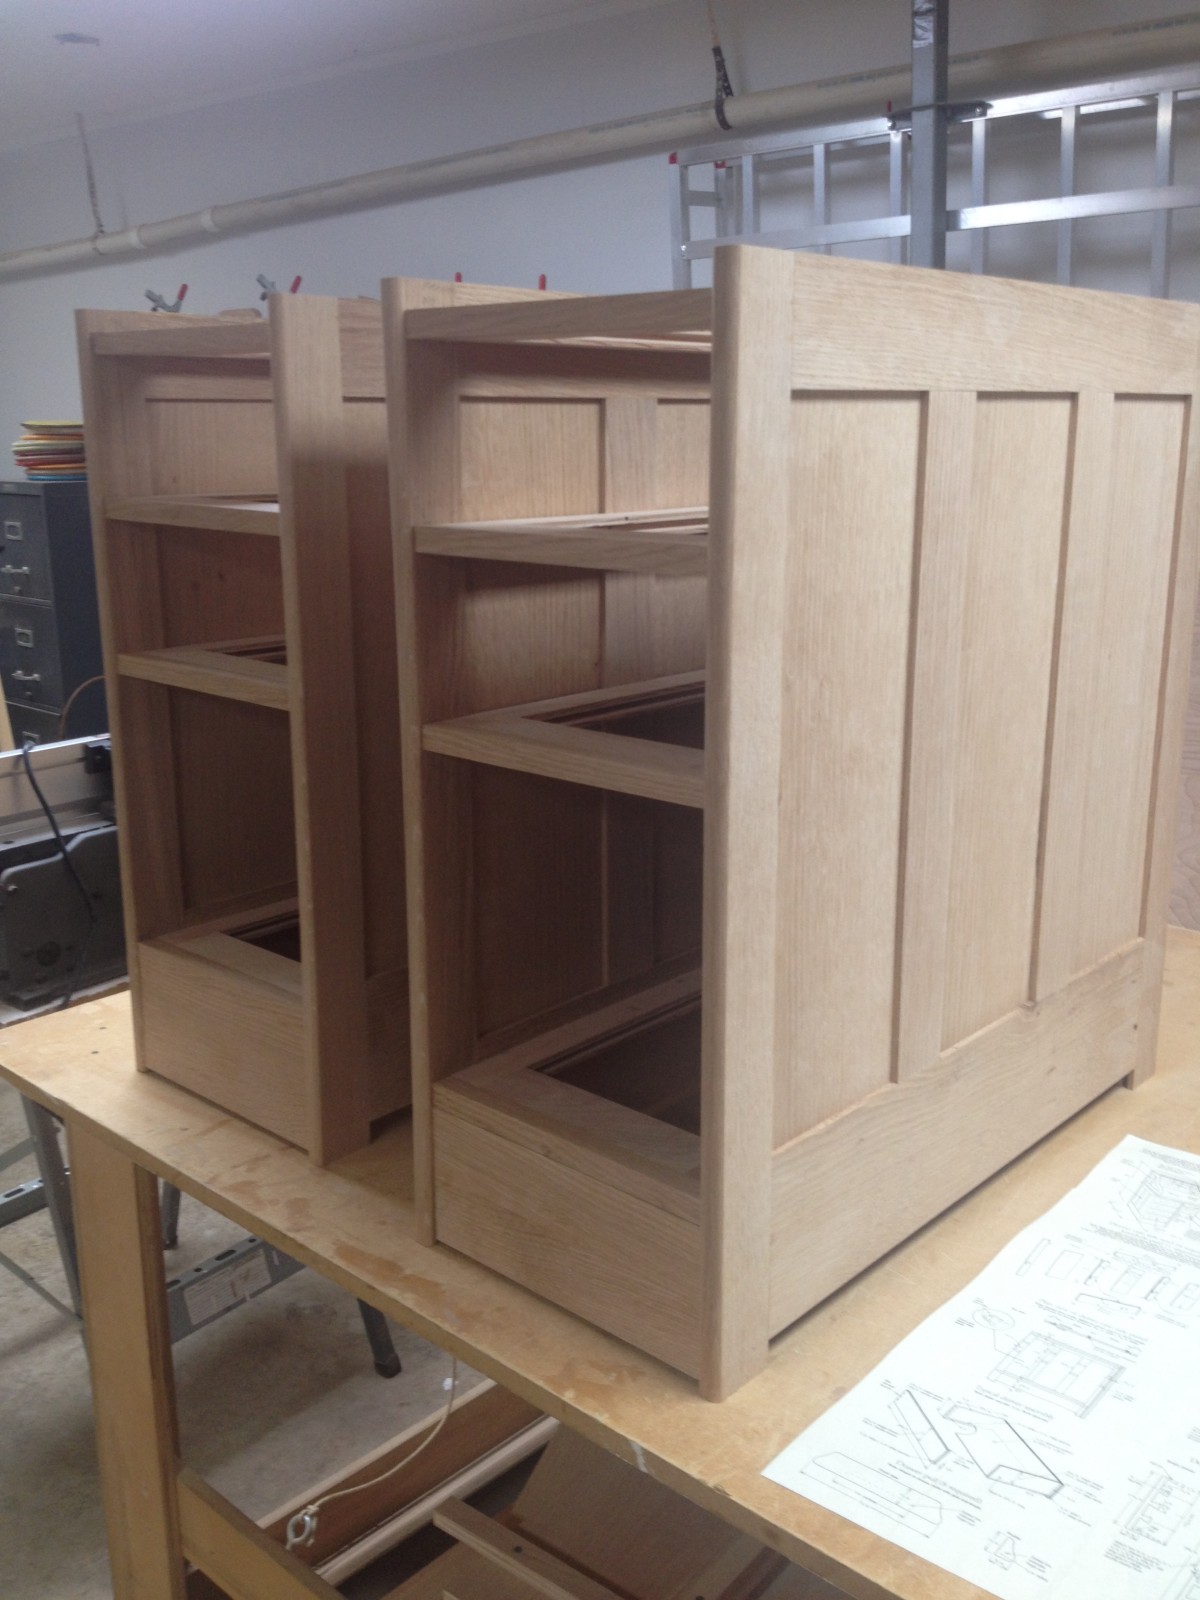
The two finished base cabinets, without the drawers!
The last piece to install is a kick plate on the bottom of each cabinet.
After a long day, the base cabinets for the desk are ready for a final sanding. I’ll save that for when the other parts are finished and do all the sanding at one time.
The next step is to make the drawers and top.
Thanks for reading!
Read Part 4 here.
Be the first to comment on "Rolltop Desk Build Part 3"