
Follow along as I build a Rolltop desk!
Introduction – February 2015
The rolltop desk has always had a certain appeal because of the large drawers in the base, multiple cubby holes in the top section and a tambour door.

Norm Abram’s version is shown here. I’m using his plans for my build.
But with the progression of computers, the rolltop desk is becoming more associated with days past, when managers and business owners relied on a desk like this to keep their paperwork organized.
For nearly a decade, it has been my desire to build this masterpiece of office furniture. After seeing Norm Abram’s build, I decided to purchase his plans from New Yankee Workshop.
Material
I chose quarter-sawn white oak for this project. This particular wood is not readily available and demands a premium price because of the special way it is cut.

It will take close to 150 board feet of lumber for this massive project!
For this project, the lumber comes from a single tree, cut on a farm near Bay Springs Lake in Northeast Mississippi in 2013.
A log was a gift to me by landowner L.C. Wright from Booneville. Mr. Wright delivered it to Pharr Sawmill in Marietta. Owners Craig and Lisa Pharr cut the log, air-dried for it eight months, and then kiln dried it at no cost to me. Thank you!!
I picked up the boards in May, 2014. It was stickered and stored in my shop until now.
Pictured at right (above), I started by separating the boards according to the parts list in the plans. Each board was specially cut for a specific part of the desk.

In the rough. Rails and stiles for six panels.
Cutting begins!
Today I cut the rails and stiles for the six side panels to rough dimensions from long boards and numbered them. They will be planed and cut to final size later.
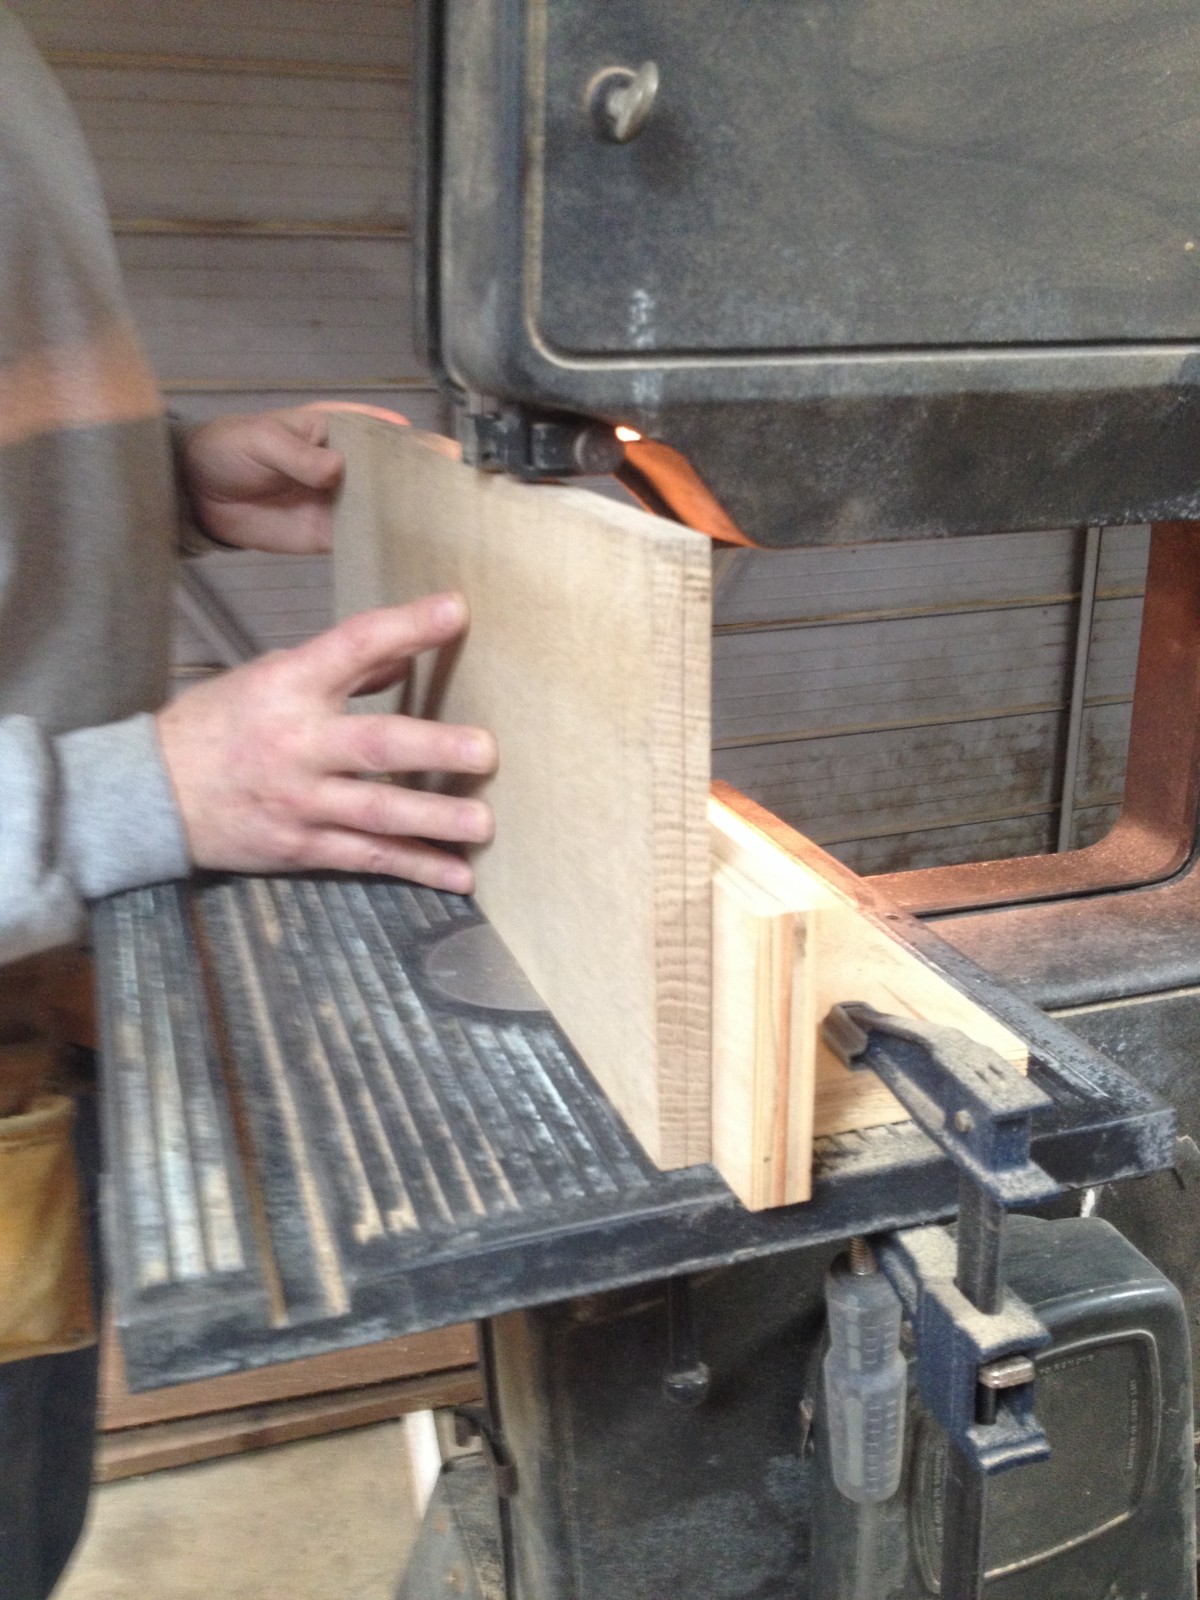
The panels that fit into the side assemblies are only 1/4″ thick. Because I expect this to be one of the “tougher” jobs, I tackled it now. I took 1-1/4″ thick boards and cut them to rough length and width. After planing one face and jointing one edge, I set up my bandsaw and resawed them into three 5/16″ panels. These will be run through the planer to get them to their final thickness.

This is my first real attempt at re-sawing. It’s a slow process.
The total time in the shop for today’s progress was around 10 hours. This is gonna be a long project, but I looking forward to the shop time.
Leave a comment