We’re winding down the construction phase of the Rolltop Desk!
Most woodworkers agree that building a piece of furniture is just half of the job. The other half is finishing the piece. In the case of this comprehensive project, finishing will constitute less than 20% of the total investment of around 150 labor hours.
This week, I finished the top of the desk and two small drawers that fit into the cubby hole assembly. The top consists of a field of white oak plywood, wrapped by a 3″-wide band of solid white oak.
I didn’t want to cut any corners on the quality of material, and because white oak plywood is not available locally, I had to pay a premium price and order it online.
Making The Top
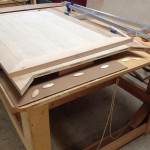
Before gluing the solid edges to the plywood, they needed to be cut to length. Using a miter sled, I cut the ends of each piece at a 45° angle. This woodworking method “hides” the end grain of the boards when they are glued together and gives the piece a beautiful joint at the corners.
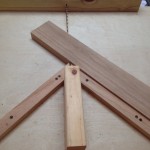
Before mitering
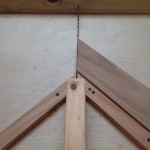
After mitering
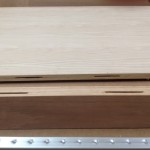
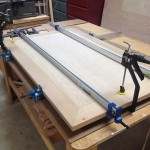
I attached the solid oak pieces to the plywood using a process know as “biscuit” joinery. Using a biscuit joiner, I cut slots every 8″ in the edge of the plywood. Then I cut corresponding slots into the sides of the solid wrapping pieces.
Along with a good dose of wood glue, the biscuits are used to help align the parts and adds a lot of strength to the joint. Below is a snapshot of the process.
After the glue dried, I removed the clamps. The joints turned out better than I had hoped, but the pieces were not quite flush to each other. Still, they were very close, so sanding was minimum.
Finishing Touches
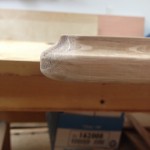
The last step was to cut the profile around the edge of the top (at right). This was a three-step process using a hand-held router with multiple bits.
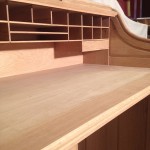
Lastly, I inserted the drawers and divider into the cubby assembly.
There is only one part left to make. The eight handles for the base drawers require a specialty router bit (vertical raised panel) that I will need to purchase. I can’t think of another application for this bit, so it will be a reluctant, but necessary purchase.
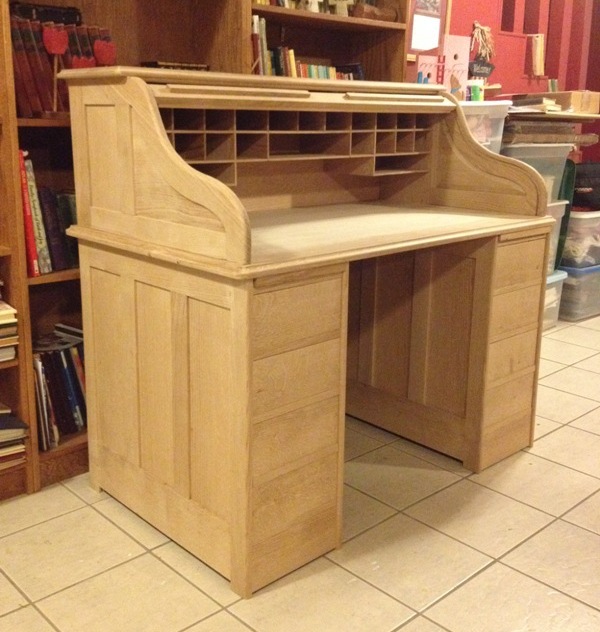
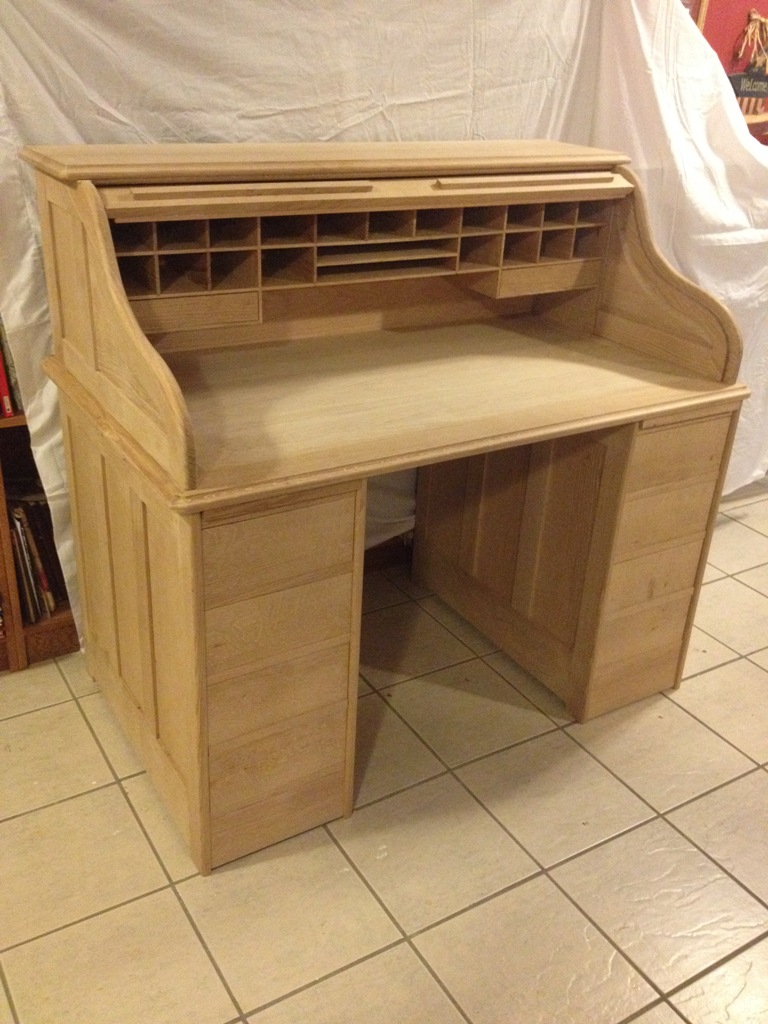
With all the assemblies now ready for a final sanding, I couldn’t resist dry fitting them together to get an idea of what it will look like. I’m sharing a picture of it below.
Thanks for looking! Comments are welcome!
To read part 9, click here.
To read the final blog, click here.
To read the entire blog series, start here.

Be the first to comment on "Rolltop Desk Build Part 10"