With the construction finished, it’s time to begin the finishing process. In today’s woodshops, most projects are stained or dyed to a desired color. For example, most of the furniture in my home is made from red oak, but finished with a cherry or mahogany stain.
Because this desk is made from quartersawn white oak, we have the rare opportunity to chemically change the color of the wood and accentuate the amazing medullary rays in the grain pattern through “fuming.”
As Wikipedia explains, fuming is an early twentieth century process that darkens wood by exposing it to fumes of ammonium hydroxide, which reacts with the high concentration of tannins found naturally in white oak.
Ammonium hydroxide is a strong and dangerous chemical…basically, a high concentration of ammonia. Exposure to the fumes can severely affect the lungs, nose, eyes and skin, so we only used it in an outdoor setting with fan-forced ventilation.
It was commonly used in “olden” days by blueprint shops, but has no modern use. I was extremely fortunate to find a retired local shop owner who happened to have a 1/2 gallon jug of it. What a break!
Testing
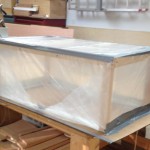
I began by testing the fuming process inside a small chamber with scrap pieces. I fumed pieces for 2, 4, 8, 16 and 24 hours. As expected, the pieces got progressively darker the longer they were inside the chamber.
I tested other species of wood (pine, birch and red oak) with absolutely no change in color whatsoever.
I determined that exposing the wood to the chemical solution for 18-24 hours would give me the color tone I wanted.
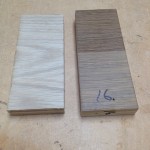
To give you an idea of just how much the wood darkened, the picture on the right shows two of the test pieces. The piece on the left was not fumed and the one on the right was fumed for 16 hours inside the test chamber.
At the top of the right piece, I applied a coat of sanding sealer to get a closer idea of what the final color would look like.
The Fume
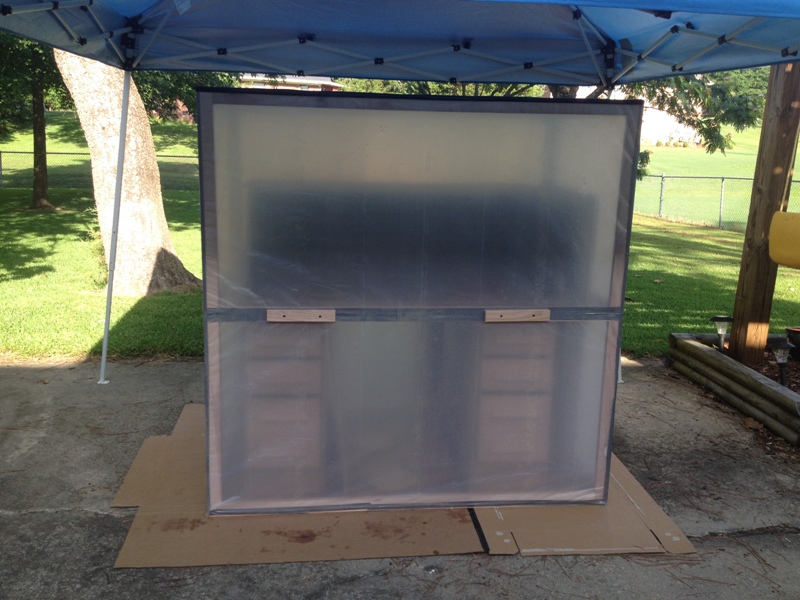
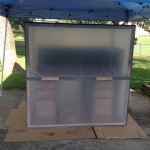
After a detailed hand-sanding of all the desk parts to 220 grit, they were placed in a large, air-tight fuming chamber outdoors. I then added four pie-pan sized containers filled with the liquid ammonium hydroxide about 1/4″ deep.
To avoid exposing the chamber to direct sunlight, I shaded it with a pop-up canopy. One of the initial concerns was the weather. It was 95 degrees with high humidity. I was afraid the inside of the chamber might develop condensation. Fortunately, this never happened.
The desk remained in the fuming chamber for approximately 23 total hours. Upon removing the parts from the chamber, I was initially disappointed to see very little color change. But after two hours of being exposed to the air, the ammonia evidently continued to work on the tannins in the wood and the pieces darkened exactly as I hoped. Success!
Over the next week, I’ll be sealing all the parts before giving them several hand-rubbed coats of polyurethane.
I learned a lot about fuming on this project. It’s not a difficult procedure, but it is only applicable primarily to the white oak species of wood.
The goal is to create a piece that has an antique finish to it, and I think we are well on our way to doing just that!
See earlier blog here: Rolltop Desk Build Part 10
Start at the beginning of the series here.


Leave a comment