
One of the most elegant pieces of furniture to occupy a home is the Grandfather Clock. It is the focal point of any room and immediately presents a sense of royal surroundings with its elegant and charming chimes.
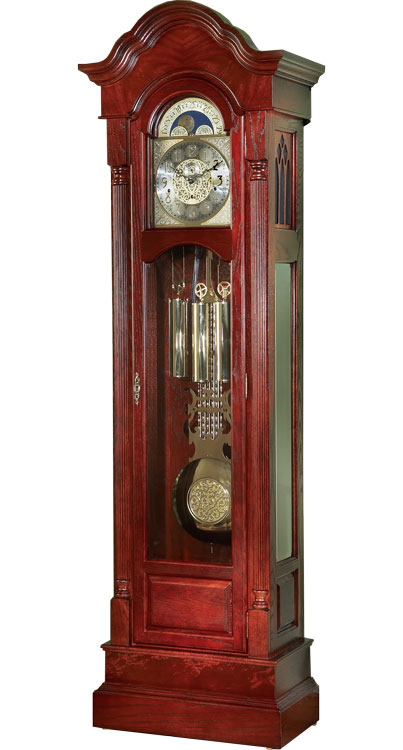
The “Columbia” from the Cooper Collection
The Sawdust Inn will now honor the fine craftsmanship of clock-making by building its version of the “Columbia” grandfather clock from Klockit’s exclusive Cooper Collection.
Standing over seven feet tall and 26″ wide, this beautiful design features the renowned German-made Hermle movement on the inside and intricate fluted columns and arched moldings on the outside. This project will require hand crafting more than 80 individual pieces of precision-cut, hand-selected cherry wood.
We are looking forward to getting started on this project and hope you will follow the upcoming blog series. Especially for woodworkers, we’ll be doing a video series on some of the more difficult-to-make parts. For non-woodworkers, you’ll get an inside look at the detailed craftsmanship required to create this stately project.
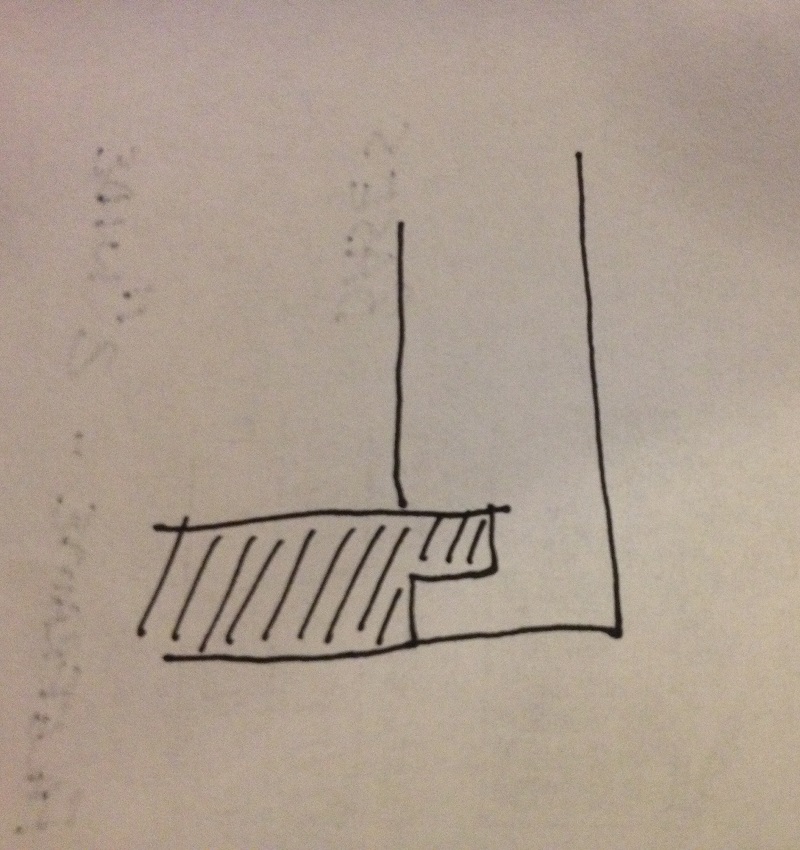
Our first step will be to construct the main frame, which requires a first-time woodworking technique for the Sawdust Inn. Let’s get started!
Happy Woodworking!
Randy
P.S. I invite you to read my personal blog on an event that happened more than 40 years ago, when my mother was surprised with a grandfather clock. It’s a touching story that inspires me as I build this clock and I’m sure it will inspire you.
 Disclosure: Klockit has provided me with a copy of the Columbia clock plan and components in exchange for providing a blog series of the build. I received the products at a discounted price and am under no obligation to return them.
Randy, I am following you closely on all of your builds. I am sure you are inspired to build this clock out of the story you told of the clock for your mothers birthday. I know you will have many wonderful memories during the build and will put a little extra into the craftsmanship of the clock. Looking forward to seeing pictures of the build.
cwj
Thank you, Mr. Jackson. I look forward to sharing the build with my friends at Gum Tree Woodworking Club!
Randy,
Let the fun begin!
You’re gonna be a busy feller with that project.
Bill
Haha. The work never stops! It’s been a great learning experience so far!
Randy I am building a Churchill grandfather
GRANDFATHER MODEL FROM KLOCK IT PLANS AND AM HAVING A TERRIBLE TIME WITH THE SPLIT CROWN MOULDING. Do you have a CDMA or video which explains in detail how to route the moulding.
Also am somewhat confused on the outer stile edge-is it an inset or square edge. The detail shows a routed inset edge but the hinge drawing shows a squared edge Any comment based
Hi Charles,
I don’t have a video, but I did write a blog (with photo illustrations) on making the crown moulding. Although the Churchill calls for a split moulding, the process is the same as the one I built. You can see the blog here – https://sawdustinn.com/grandfather-clock-build-part-5-the-crown/. The key to making the moulding is to do the two different bit routings on two separate pieces that will be glued together to make the final thickness.
You are on the right track with the stiles. The front stile does have a rabbet cut, leaving a tongue. The tongue of the front stile fits into a groove cut into the side stile. Once the front and side assemblies are glued together, you are left with a squared edge.
I hope this is helpful and please, please don’t hesitate to contact me if you have any further questions. You can email me direct at randy@sawdustinn.com. If you prefer a phone call, I am happy to oblige. Just include your phone number in an email.