

During the five weeks we spent on other projects and family time, the kitchen has seen very little progress. Mrs. Sawdust Inn said she is in no hurry and wanted me to enjoy the journey. This freedom allowed me squeeze in a few rounds of disc golf with some buddies on Saturdays.
However, I did take time to study and decide to use a unique cabinet-building technique by a cabinet maker in Iowa. Marc owns Sommerfeld Tools for Woodworking and has produced an amazing series of cabinet making videos that incorporates a tongue and groove process. It starts by building the cabinet’s face frame, then building the carcass around that frame.
I first learned about Sommerfeld Tools when building our Grandfather Clock. I had ordered a couple of router bits from them and found the quality of their products and quick service top notch.
What I like about Marc’s approach is that you build an entire wall of cabinets as a single unit. As an example, our section of cabinets over the stove area are actually three separate units. By building them ourselves, we can save time and money by building them as one unit. You’ll see the “3-in-1” cabinet later in this blog.
We decided we would focus on completing the wall cabinets first, then moving on to the base cabinets afterward.
The Face Frame
In our last blog, we noted that we had planed a few poplar boards to a finished thickness of 3/4″, then ripped them down to 2″wide.
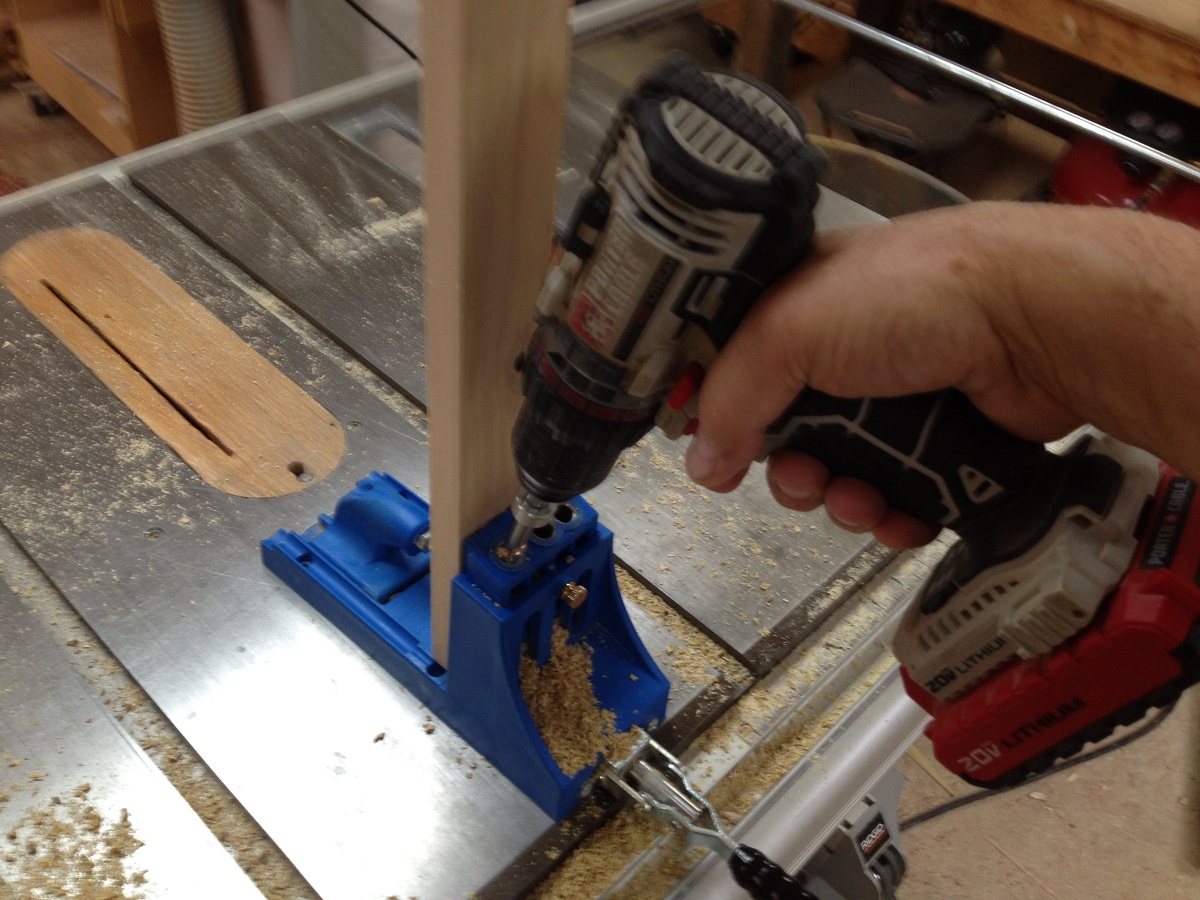
After cutting the parts to length, we drilled pocket holes to connect the face frame pieces together. These are the only mechanical fasteners that will be used to construct the cabinets. The theory is, if the face frame is straight and square, the sides, bottom and back of the cabinet will automatically be straight and square.
-

- Drilling pocket holes
-

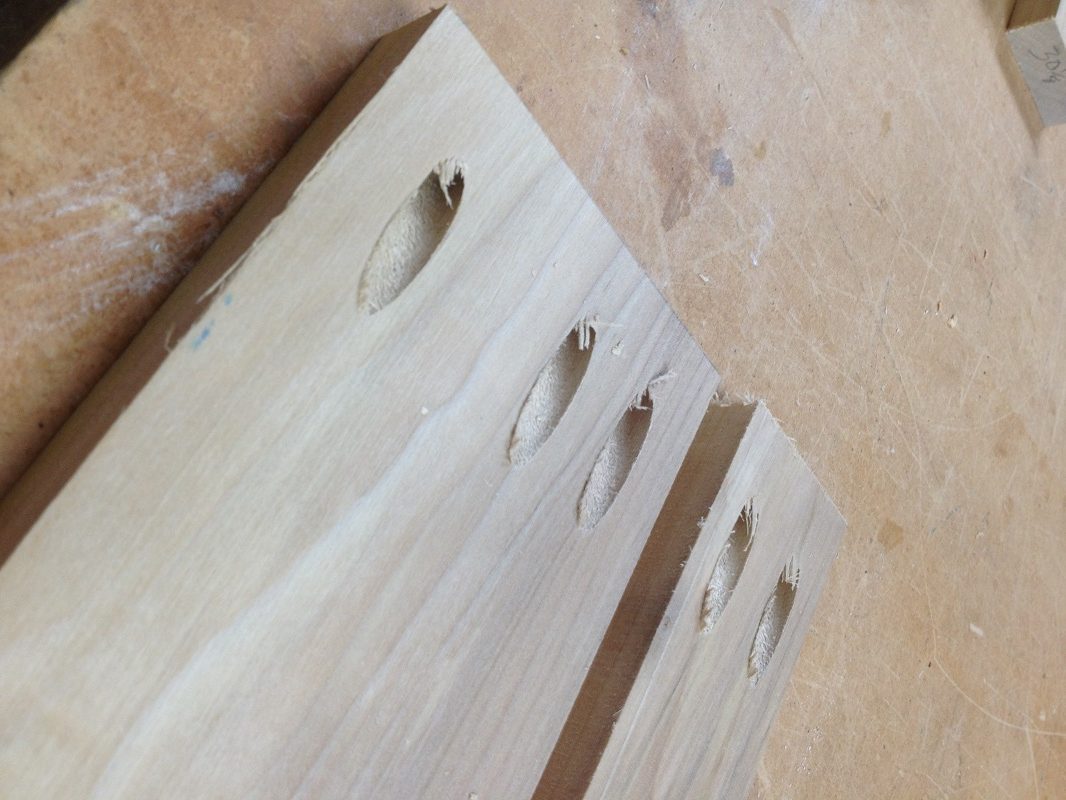
- These holes are for the screws
-

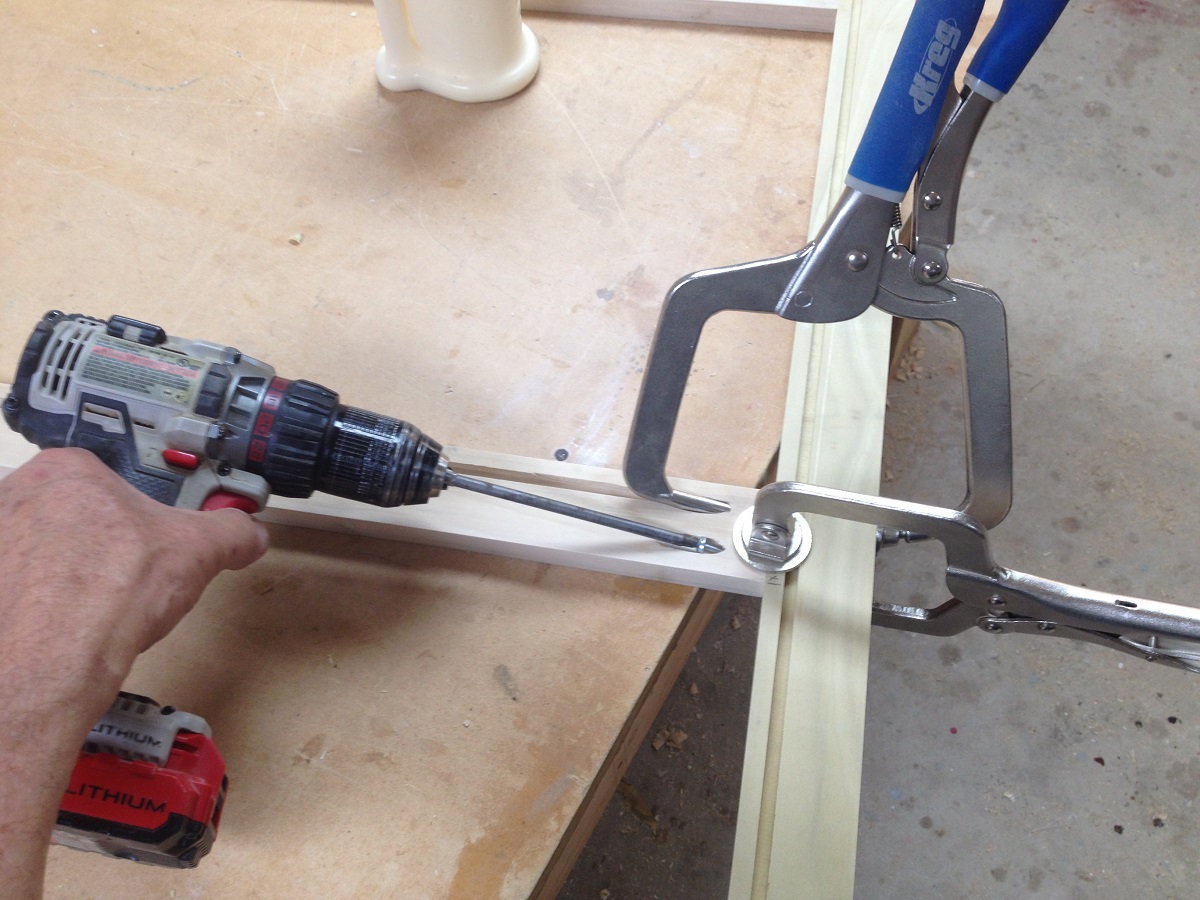
- Screwing the frame together
The cabinets

With the face frame complete, it was time to cut the side and divider panels for the cabinet. I failed to take pictures of the assembly process, but the photo at right shows how the side panels get a “tongue” cut to fit into grooves cut into the face frame. It really is a basic woodworking procedure once you understand how the parts go together. And, because of the way the pieces come together, there is an extraordinary amount of glue area, making this joint super strong without additional fasteners. The critical component of this technique is getting all the individual part sizes correct so that when you put them together, you get the desired final dimensions.
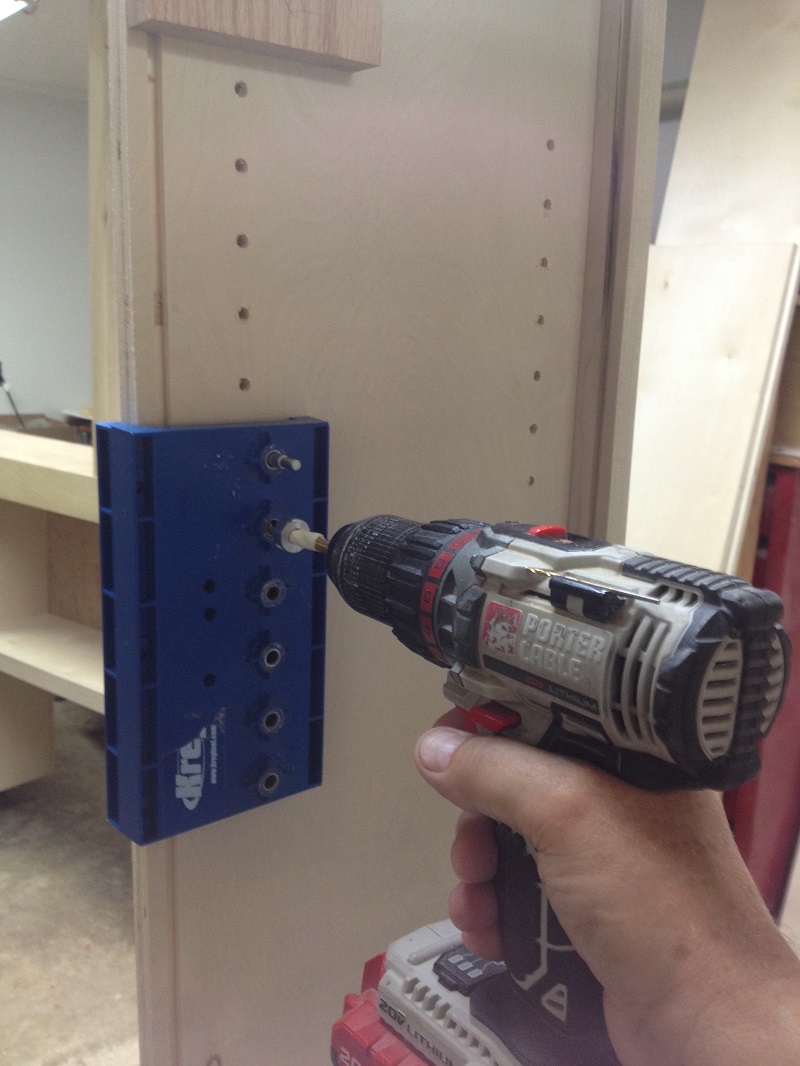
After the sides and dividers were glued to the face frame, we put the bottom in the cabinet and cut a brace for the top of the back of the cabinet. This is how we will attach the cabinet to the wall. Just before gluing it in place, we slid a panel into the back groove for the back of the cabinet. Then, it was time for drilling shelf pin holes with our Kreg jig for the adjustable shelves. These are straight-forward and allows the shelves to be moved up or down on a whim in one-inch increments!
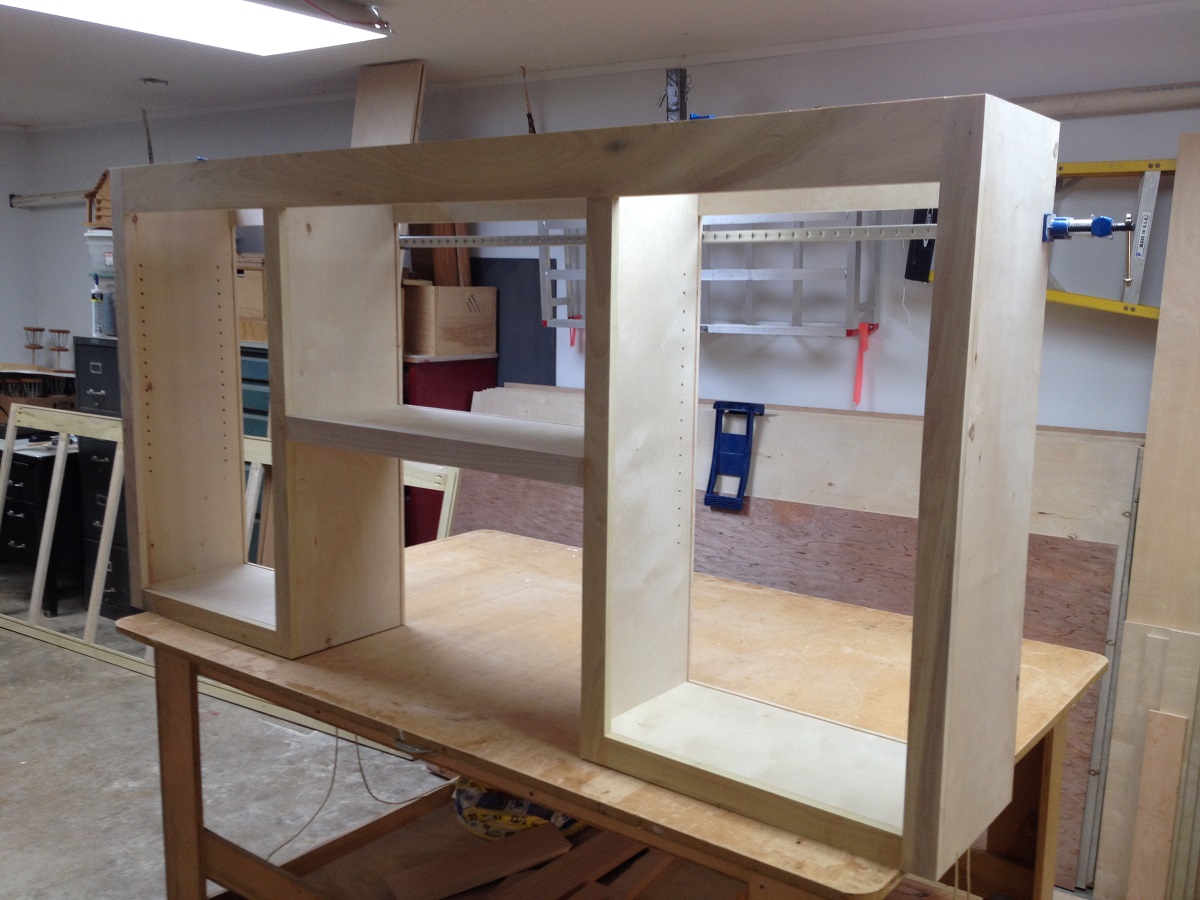 At right is one of the “raw” cabinets before the back was put on. This particular cabinet fits over the stove. The bottom of the center section is where the microwave will go. After the doors were constructed, everything received multiple coats of white enamel paint.
For the doors, we used the same tongue and groove router bit set to build the outer frame. The inner flat panel is 1/2″ medium density fiberboard (MDF). It cuts very nicely and takes paint even better.
The doors were attached with European-style, or concealed, hinges. Mrs. Sawdust Inn choose aged bronze knobs.
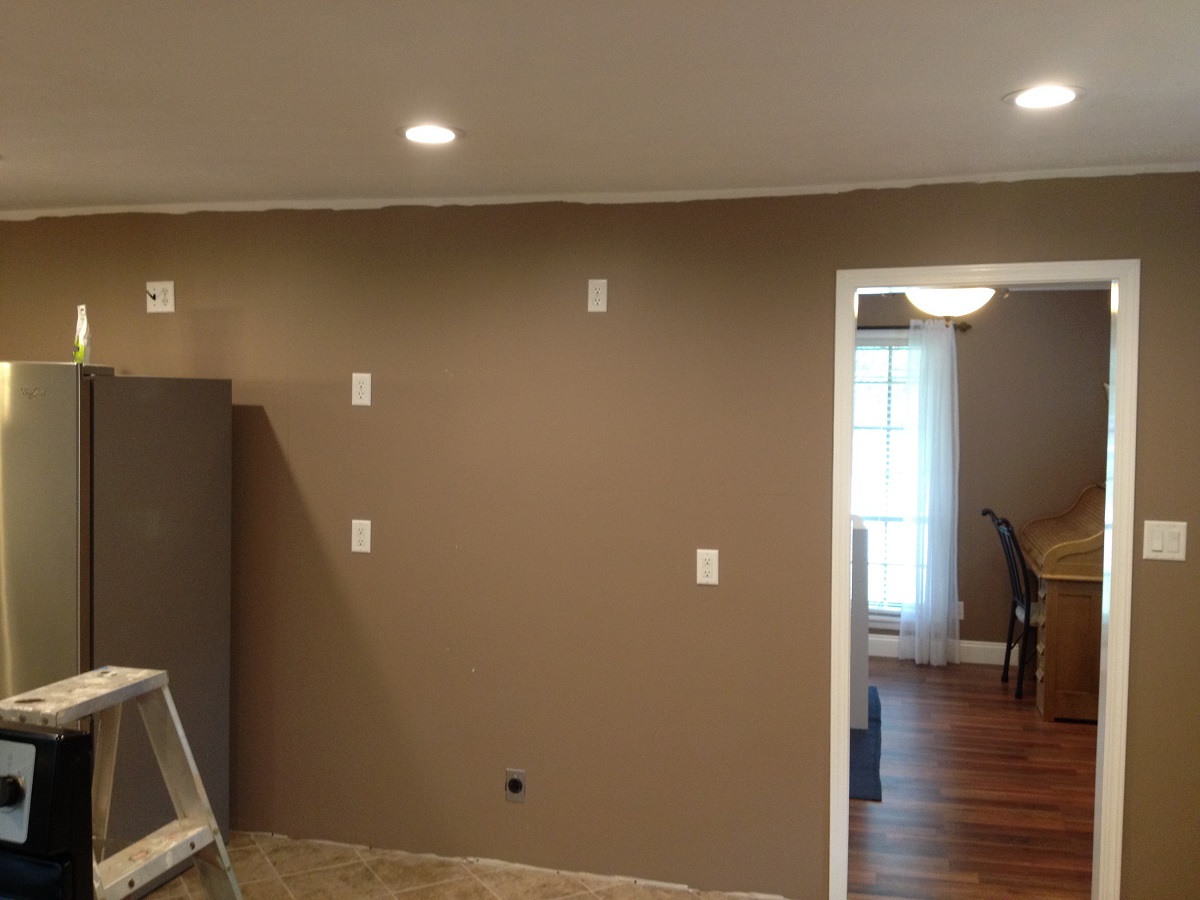
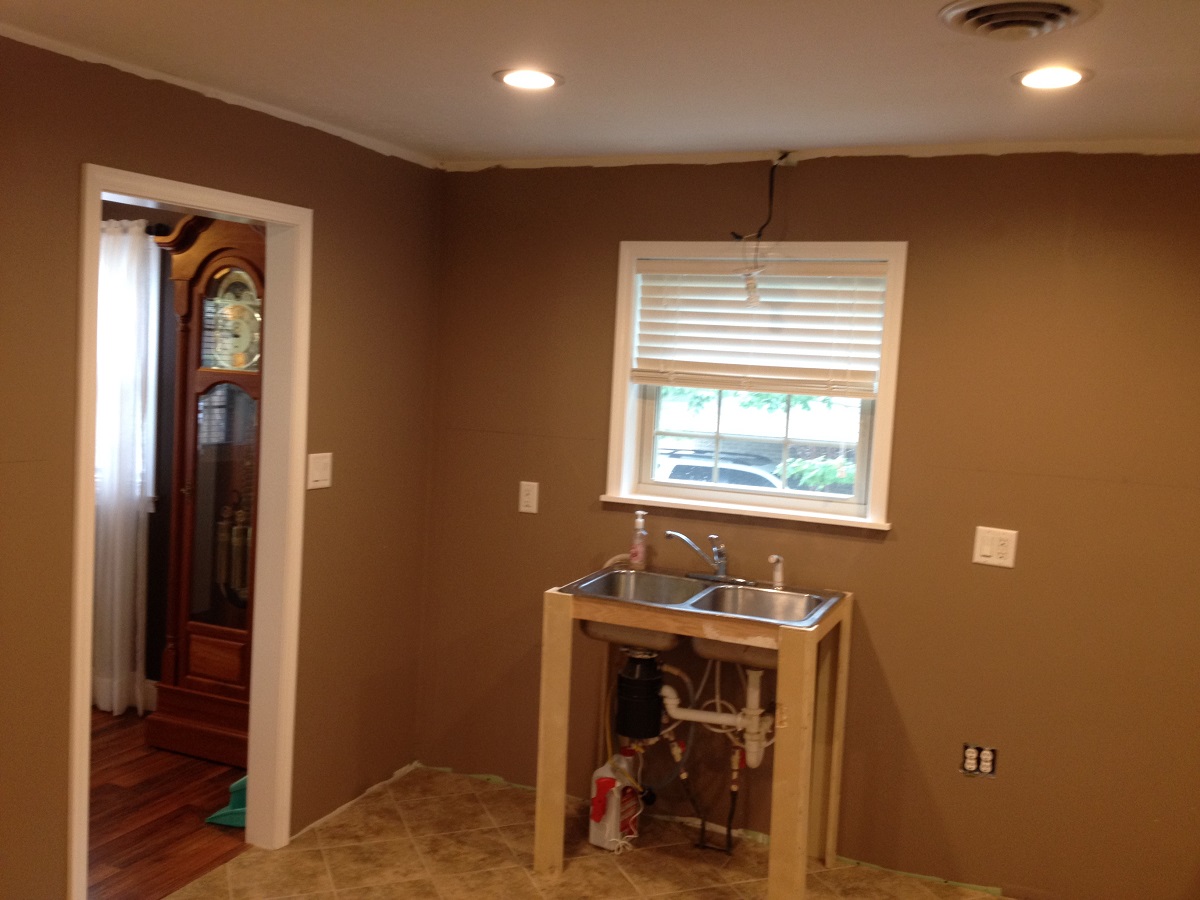
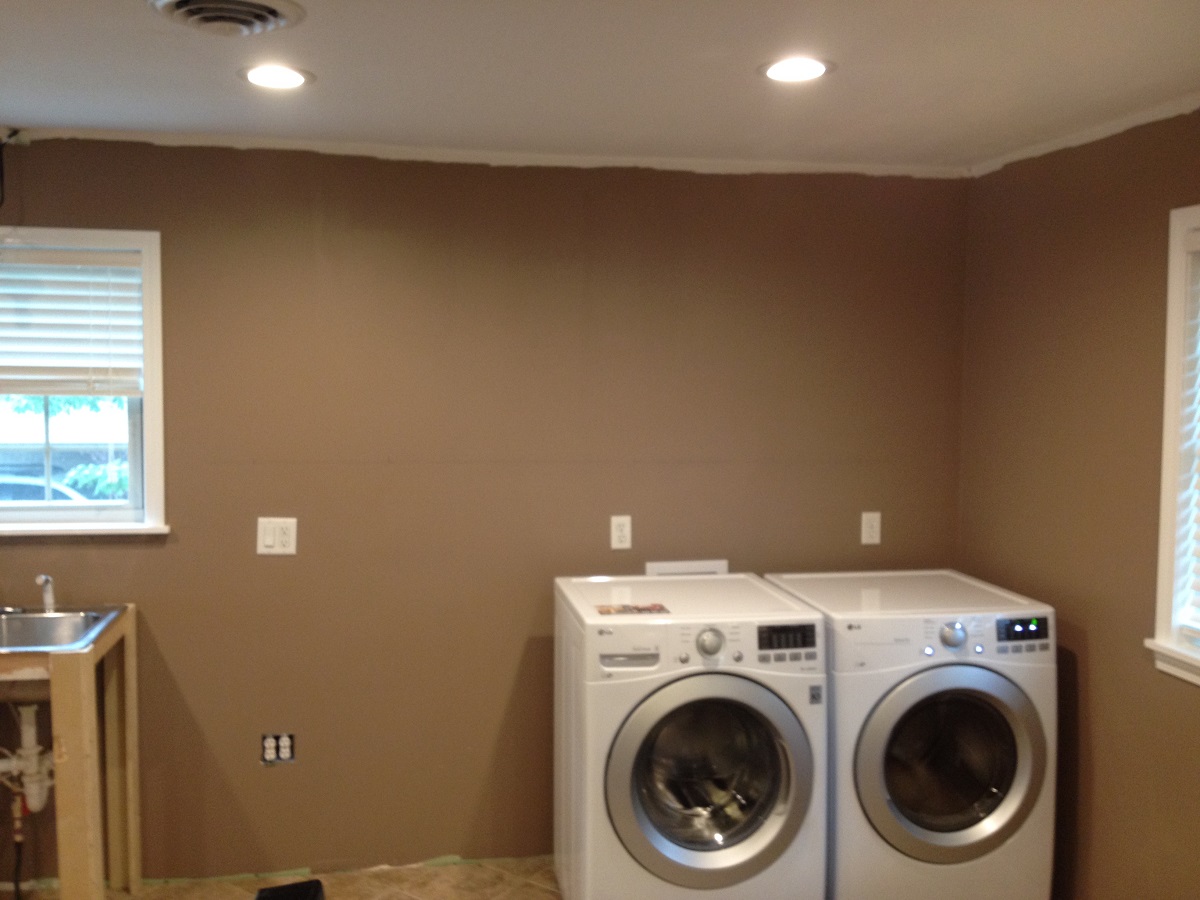
Below, you can compare before and after pictures of each wall. This completes the wall cabinets. The next cabinets to build are the refrigerator surround and a broom storage area as things begin to get a little more detailed and complicated…stay tuned!
-

- Hot Wall
-

- Sink Wall
-

- Washer Wall
-

- Hot wall

-

- Sink wall

-

- Washer wall

Before moving on to the base cabinets, there are a few punch list items to take care of. We’ll be putting in the light fixture above the sink area and running exhaust pipe above the microwave, through the attic and out the roof.
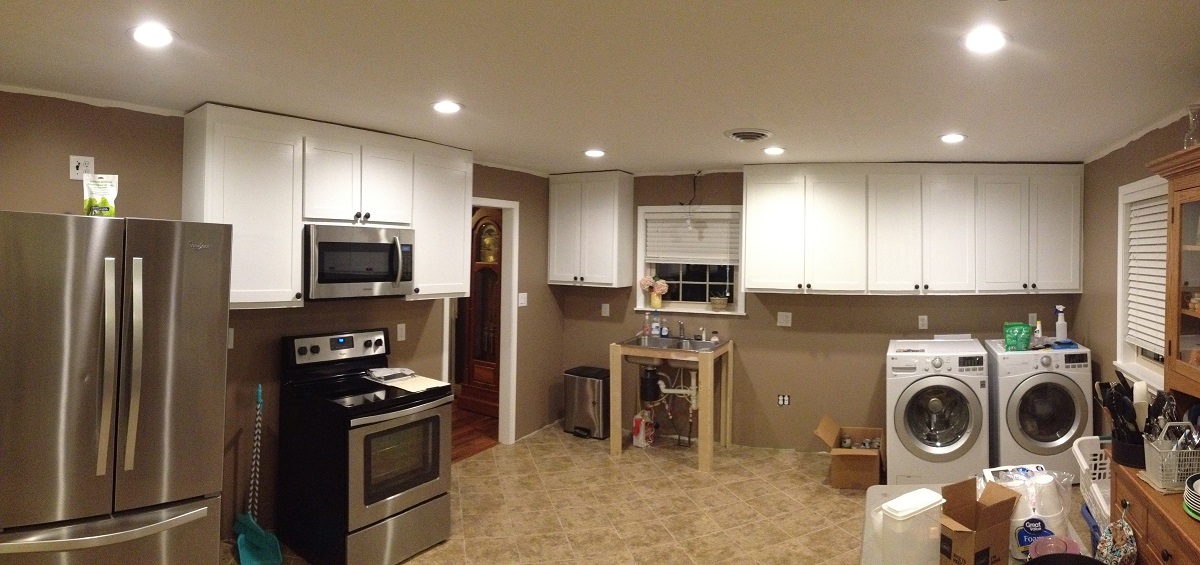
Here’s a semi-panoramic view of the room as of August 1, 2016. Thanks for looking and … Happy Woodworking!
Read Part 7 here.
Read Part 9 here.
Start with the first blog in the Kitchen Remodel series here.
Randy, this is looking GREAT!! Fantastic job so far. I know Mrs. Sawdust Inn is loving it.