
With the bases and the drawers finished, I wanted to turn my attention to the roll top section itself. The cubby hole section will require the most time and effort, but this is going to be the most difficult part of the build.
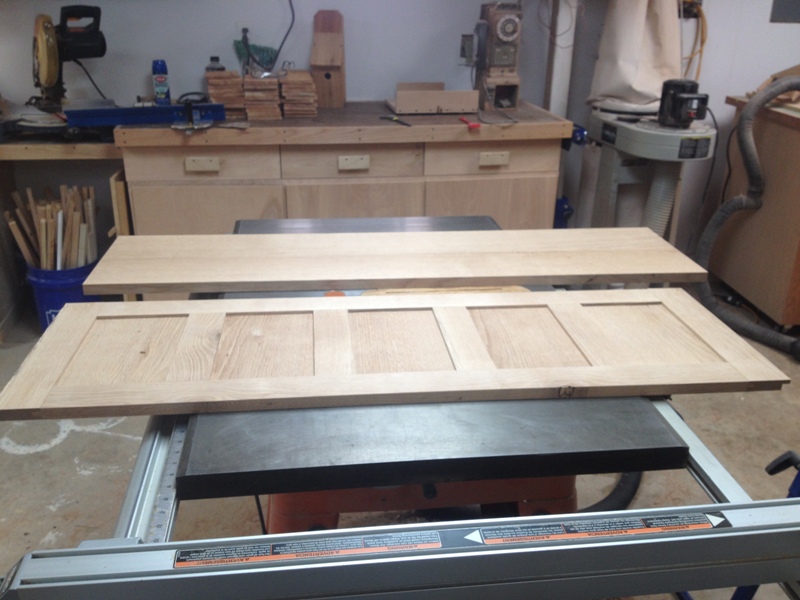
Top and back panel for roll top section.
The desk top consists of the curved sides that the actual tambour will ride in, a back panel and a top. The tambour will be a project unto itself.
I started with the back panel and top. The parts required lots of grooves to accept the thin panels. The top was straight forward and simple.
I then moved my attention to the sides. The side rails have three curves and require multiple grooves. Each side also requires a triangular shaped raised panel insert.
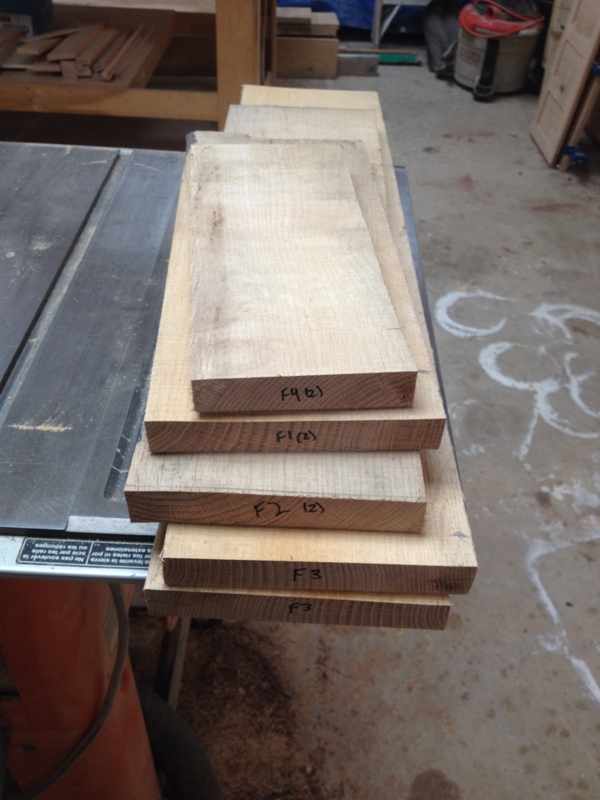
The boards are “in the rough,” and labeled.
I started by cutting the raw lumber to rough length. After planing them to thickness, I cut the individual parts out to final width and length.
So that my mirrored sides and inserts would be exactly the same, I cut templates out of 1/4″ hardboard. If I ever make another desk, these will come in handy!

Here are the side parts, ready for cutting grooves and tenons.
I roughed out the curved side rails and the inserts on the bandsaw. The next step is to use the templates to get them to finished size with a flush-trim router bit, cut the grooves and tenons in all the pieces and put them together.
It took about 15 hours to get done what’s covered in this blog. I expect it will take at least another 8 hours to complete the side sections.
Another slow, but productive weekend! Thanks for looking!
Read Part 6 here.
Be the first to comment on "Rolltop Desk Build Part 5"