It’s time to make parts for the six drawers.
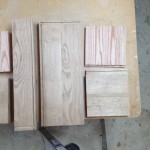 The original plans called for birch plywood for the sides and backs This would be a snap with 1/2″ plywood, but I decided to use solid wood, knowing that it would require at least on full day just to prepare the parts.
After re-sawing some boards, gluing up others and a lot of planing, the parts are ready.
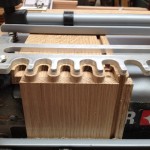 The Porter Cable 4210 from Lowe’s is the perfect tool for making dovetails. The great thing about this jig is that it will cut both tails and pins at the same time if you are making half-blind dovetails. At right, you can see how the boards must be set in the machine and what they look like after routing is complete.
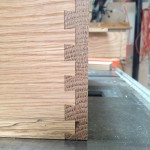 The cuts are made on the inside of the drawer front and the side. That way, when you put them together, the actual dovetail shows up on the outside of the drawer. At right, you can see how these boards fit together, forming a self-tightening joint that will never come apart.
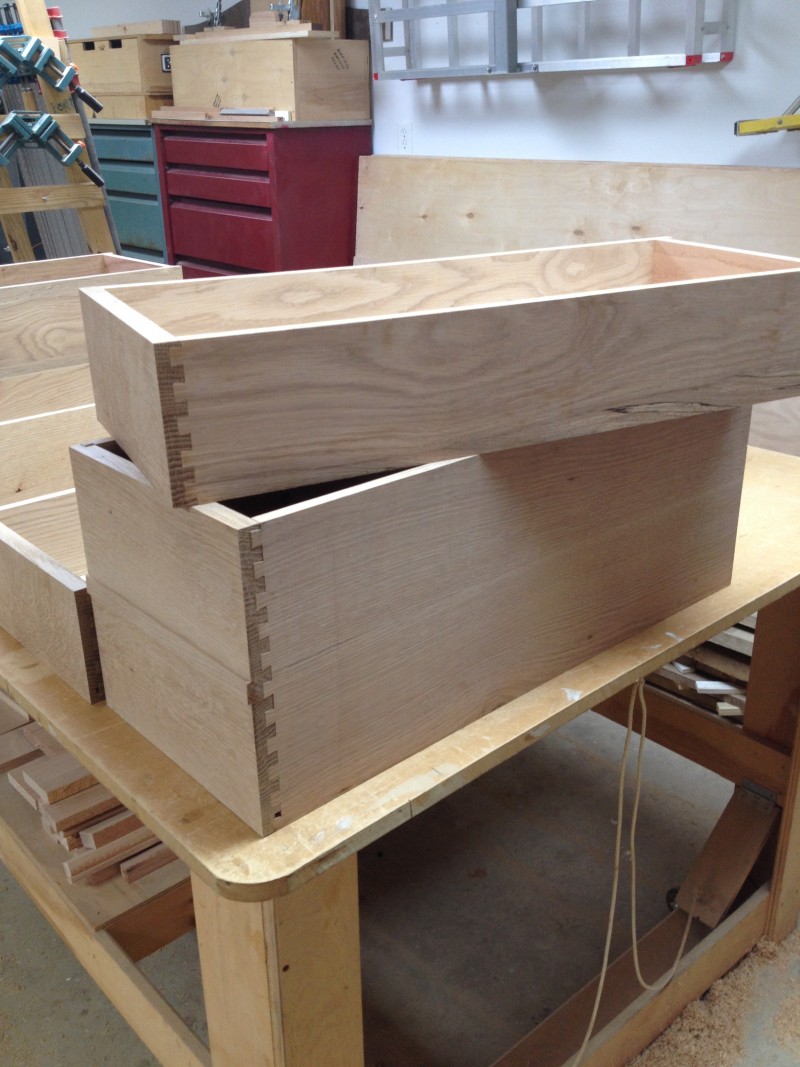
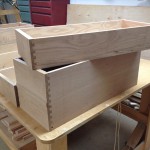 Here, you can see two of the finished drawers. One is a single drawer and the other is a double which is designed to hold files.
The bases are complete! Next, we’ll make the desk top and the top for the cubby hole assembly. Stay tuned!
Read Part 5 here.

Be the first to comment on "Rolltop Desk Build Part 4"