Building a mantle or wall clock can be a very relaxing and rewarding way to spend a weekend. Clocks are a staple project in my woodshop because they don’t require a lot of material, are relatively inexpensive to create, and make excellent gifts.
 Whether you create your own or build from one of Klockit‘s pre-cut clock kits, the finish is the most critical component of the project. If you’re meticulous with the construction of your clock, don’t cut corners on the finish. It just as important to dedicate the same detailed attention and time to the latter as the former.
A great finish doesn’t have to be difficult. It’s a simple process of following a few basic steps to make your clock an heirloom you can be proud of. Depending on the species of wood, you have a few options. Below, we offer our recommendations for two of the most common – Oak and Walnut.
Prepare your clock for the finish
Whether it’s oak or walnut, the first step to a great finish is wood preparation. With all the parts of your clock cut to final size, start by sanding each piece with 120-grit sandpaper, always sanding with the grain of the wood. Be careful not to round over any edges of your work-piece. You want crisp, clean edges, especially where two parts are joined together. Don’t be too aggressive. Use medium pressure, just enough to sand out pencil marks and remove any loose wood fibers.
Follow up by sanding with 180-grit paper. Just like before, medium pressure is all that’s needed. Your goal is to smooth out any sanding marks left by the courser sandpaper. Then, repeat this process once more by hand-sanding your parts with 220-grit sandpaper. Your piece should now feel smooth, almost “silky” to the touch.
Your now ready to assemble your parts with glue and clamps. Keep in mind that any glue that gets on pieces outside of your joints will “seal” the wood and not allow your finish to penetrate properly later on. Quickly remove any excessive glue with a damp cloth.
Once the glue is dry, give your clock another light hand-sanding with 220-grit sandpaper, looking for any imperfections or prior sanding marks you may have missed. Finally, remove all the dust from your project with a soft bristle brush and tack cloth.
Finishing Oak
The grain in an oak project is a bit different that other hardwoods. Even with sanding, the open-pored grain pattern may continue to have a slight texture to the touch. Don’t worry, that’s why OAK is spelled with the letters A-OK.
- If you choose to stain your clock, begin by applying it according to the manufacture’s instructions. Many will choose to skip staining altogether and allow the natural beauty of the wood color to speak for itself. But if you do stain, allow it to dry completely before going to the next step.
- Here, you have two options. You can apply either a wipe-on or brush-on polyurethane. Semi-gloss gives the best results.
- Wipe-on poly – A wipe-on polyurethane is thinner and requires 5-6 coats to get a good protective coating. The trick is to apply very thin coats in a circular motion with a soft cloth. Allow it to dry thoroughly and sand the entire clock with 320-grit sandpaper between coats. Pay special attention to the small nooks and crannies. This is where raised grain and dust nibs like to hide. If you don’t give special attention to these areas with each coat, the problem will only compound.
- Brush-on poly takes less coats and less days to complete the project. The trade-out is that it also presents unique considerations. A clock is a small project, so a small brush is an ideal tool for applying the thicker liquid. But with any brush, there is a potential for uneven coats, drips or runs. It is imperative that you go slow and constantly monitor your work. By inspecting the clock at an angle against a light, you can catch these problems while the poly is still wet.
Finishing Walnut
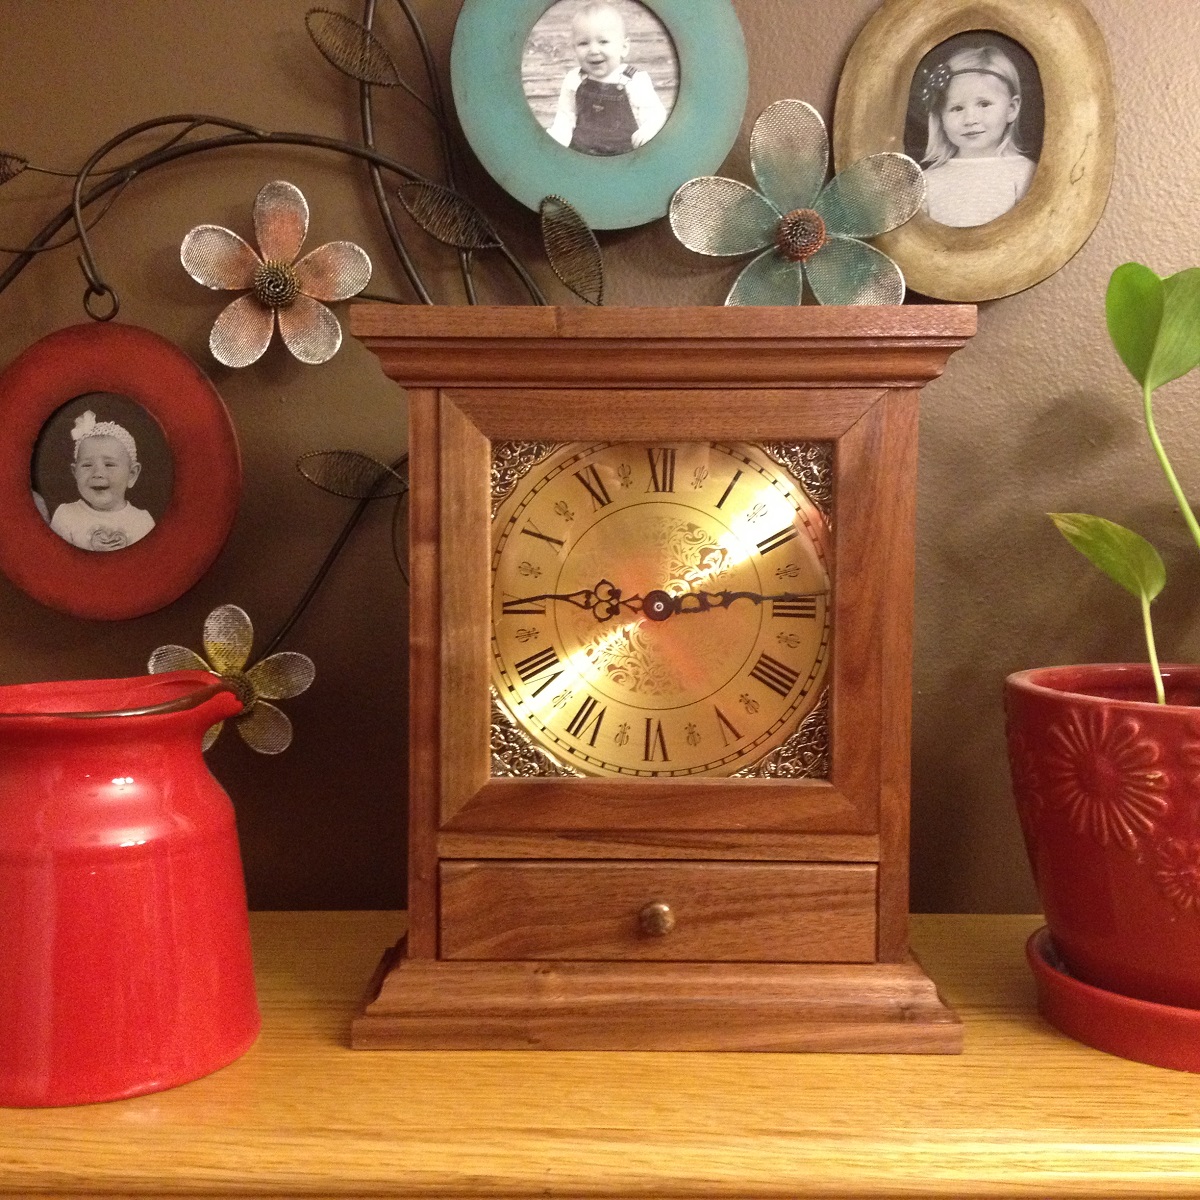
Walnut the perfect wood for a traditional mantel or wall clock. With it’s natural beauty, there is no need to cover it with stain.
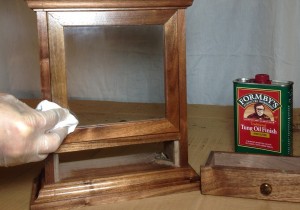
 Formby’s High Gloss Tung Oil finish is the perfect choice for finishing walnut. The secret to using Tung Oil is patience. You want to apply a minimum of ten very thin coats with a soft cloth, sanding with 320-grit sandpaper between the first few coats, then moving to 400-grit sandpaper on subsequent coats. Just like the wipe-on poly, lightly sand between coats until the surface of the wood is perfectly smooth again, making sure you pay special attention to the small areas like inside corners.
As you sand, a white residue should appear on the surface of your clock. This is normal and prepares the surface for your next coat to adhere to. Use a tack cloth to remove the residue.
 You’ll be pleasantly surprised to see that with every coat you put on, the more beautiful the clock becomes. Investing the extra time and effort now will give you a sense of pride in your creation for decades to come.
Happy Woodworking!
Editor’s Note: There are scores of finishing techniques woodworkers use, with great results. The ones presented here are those the author has found to produce the best finish for him.


will Formby.s high gloss tung oil finish work on cherry wood as well as walnut .
Hi Robert,
Thanks for the great question. Cherry is an excellent candidate for Formby’s Tung Oil finish. I think you’ll find that the more coats you apply, the more beautiful your project becomes.
What if I were to stain a musical wall clock done on oak .
I was hoping the seller had it in Walnut but it is not available …