It has taken close to three weeks to complete the latest phase of our kitchen remodel, new drywall and painting.
After deciding on final placements for the wall outlets and light switches, we were ready to hang the drywall.
While professional drywall hangers would have gone with hanging horizontal 4′ x 12′ panels, we chose to go with vertical 4′ x 8′ panels. Although it meant a few additional joints to tape and mud, it was the easiest way to go because the smaller panels were more manageable for a one-man operation.
The Hot Wall
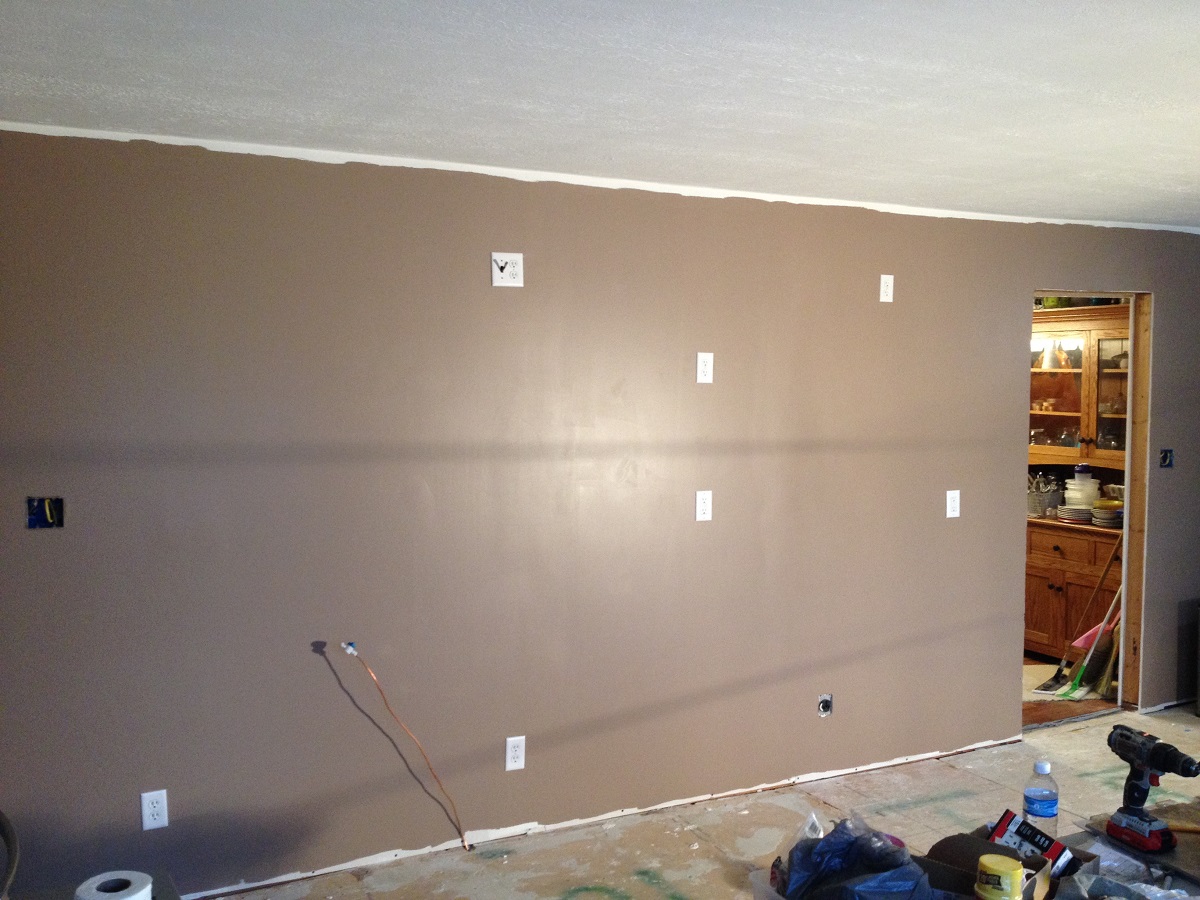
We began with the hot wall. Originally having just one wall outlet, we added new electrical circuits for a stove, a refrigerator, counter appliances, microwave and a TV. Naturally, we wanted to add a cable TV line too! And, on either end of the wall, we placed switch boxes for ceiling lights.
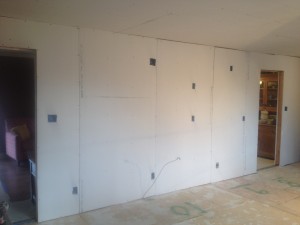
If you look at the first picture below, you can see how we ran the wiring. Most folks never give a moment’s thought to what is behind their walls…as long as they have a plug-in. If you click the picture for a larger size, you’ll notice the wiring is different colors. It’s interesting to note that wiring is now color-coded according to its gauge, or wire thickness. For new home construction applications, most of the wire is 12-2, or yellow. In my case, the yellow wiring is what I bought. But…I was able to re-use some of the old wiring from the original light and hot wall placements. Thus, there are different colors of wire, yet they are all the same.
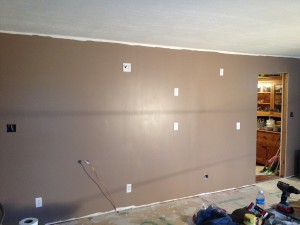
Hanging the drywall was a pretty straight-forward process, as was taping and mudding the joints. Although some of the higher outlet placements shown above look rather odd, they will be hidden within the cabinetry and not seen.
The other three walls didn’t contain the high number of outlets, but there were windows to work around. However, the process was fairly uneventful and went smoothly. On the wet wall, we used mold and mildew resistant panels.
Laundry Center
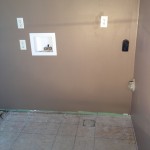
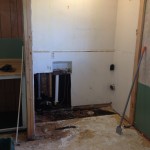
One area worth pointing out is the laundry center. The photos at right show a dramatic change in the appearance of this area. When the house was built, the water and drain lines were crudely placed. In a nutshell, this area was…well, nasty, to say the least. (Click on left photo for close-up)
Before hanging the drywall, we replaced the plumbing, the water connections and the drain line. To top it off, we added a washing machine outlet box with a single lever shut-off valve and some extra wall outlets in strategic places. This one improvement made Mrs. Sawdust Inn happy, happy, happy.
While painting the walls and ceiling emanates that “new house” smell, looking at the floors brings one back to the reality that there is still a lot of work to be done. After conferring with Google, we’ve made the decision to replace the existing particleboard flooring with OSB sub-flooring panels.
The professionals online say it’s a necessary preparation when planning for ceramic tile. And as we all know, “they” don’t allow anything to be on the Internet that isn’t true. haha
Stay tuned…and Happy Woodworking!
Read Part 6 here.


Be the first to comment on "A new Kitchen – Part 5 – New walls"