
I had a couple of hours to spend in the shop on Sunday afternoon, so I decided to do a little work on the tambour. The tambour is the flexible, rolling cover part of the desktop.
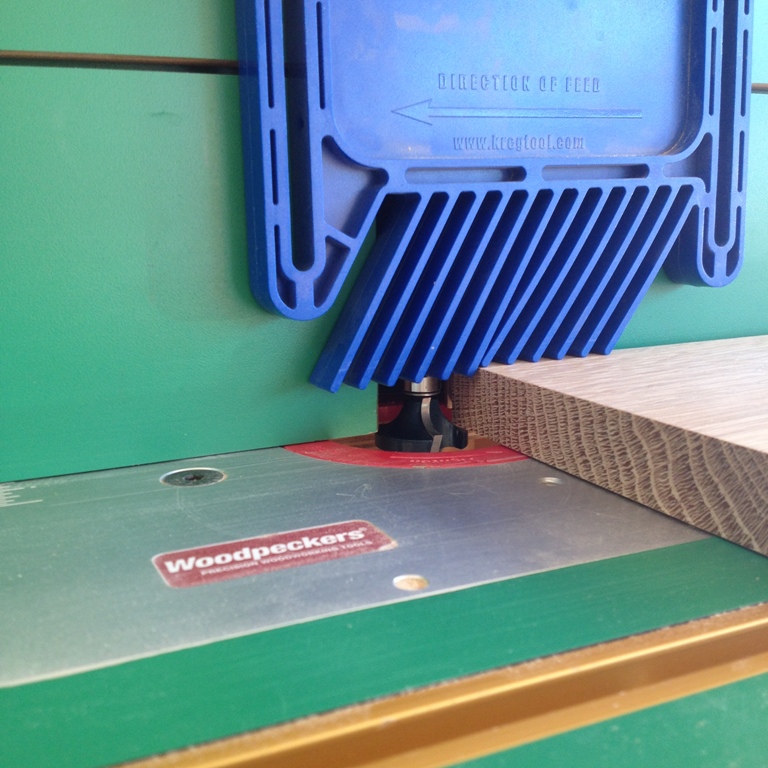
Rounding over the edge of the large blank.
The tambour is made up of 28 narrow slats connected together to form a single unit. The ends fit into a groove in the sides of the desktop.
I started with several over-sized boards about six inches wide and thinned them down to 13/16″ thickness. Then, I rounded over one edge of the boards on the router table.

Using a sled to cut the strip.
Then, using a homemade sled, I ripped a slat from the wide board. Then it was back to the router to round over the edge for the next one, then back to the sled.
The process was repeated 33 times. I cut extras so I would could discard any that might twist or bow, or any that have a defect.
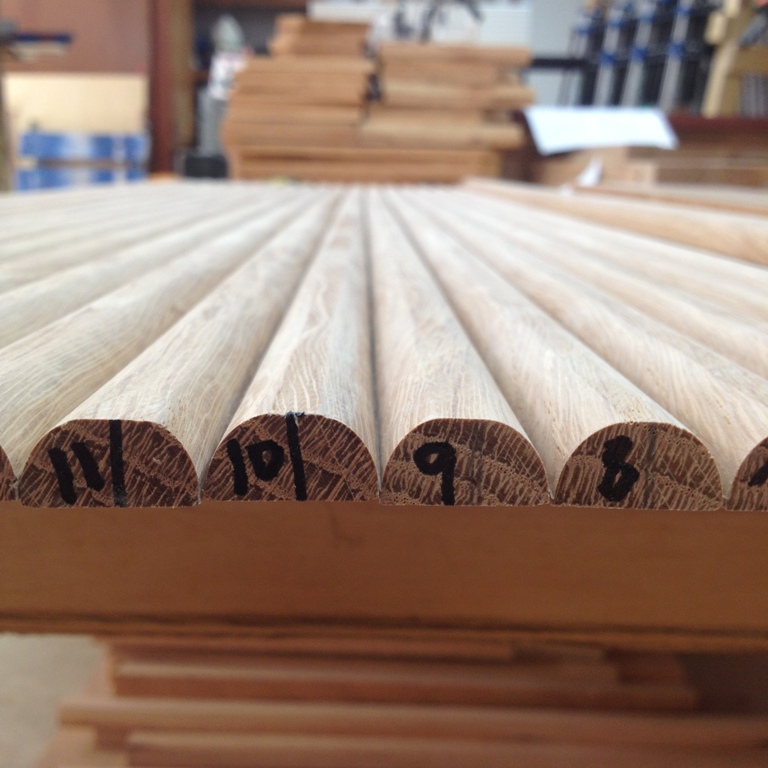 Each slat was numbered and kept in the order that it came off the wide board. This will make the wood grain in the tambour “flow” when the slats are assembled.
Once all the slats were cut, I laid them out to see what the finished product would look like.
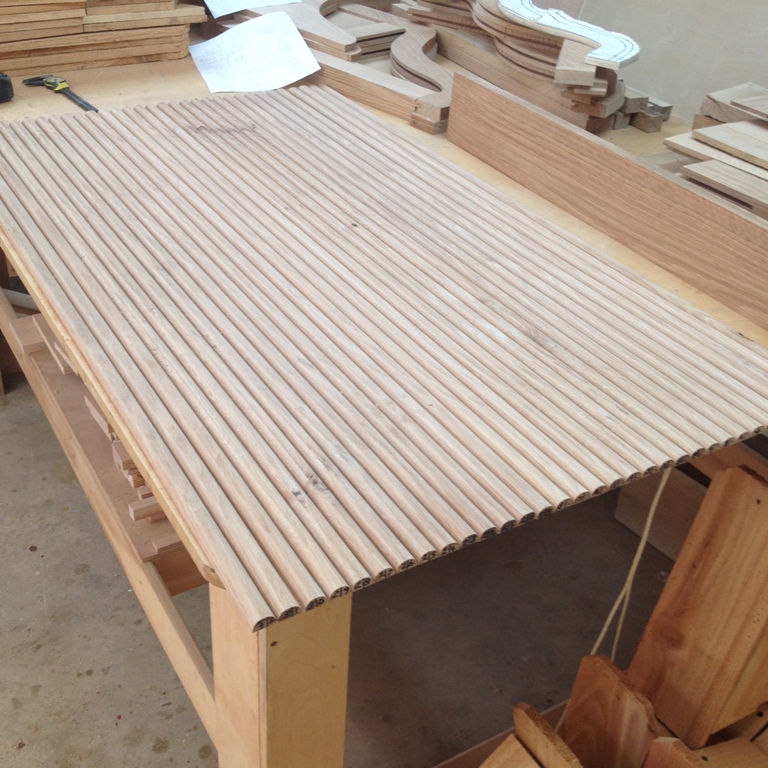
Slats laid out in order.
At right, you can see what four hours of work looks like!
Read Part 7 here.
Be the first to comment on "Rolltop Desk Build Part 6"