
With the frame of the clock complete, we move to building up the base.
The base is a series of multiple board layers to “build-up” a beefy profile and provide solid support for the rest of the clock. Grandfather Clocks are heavy, so they need a solid base!
Below is a short pictorial of the progression.
-

- Bottom of frame before applying base
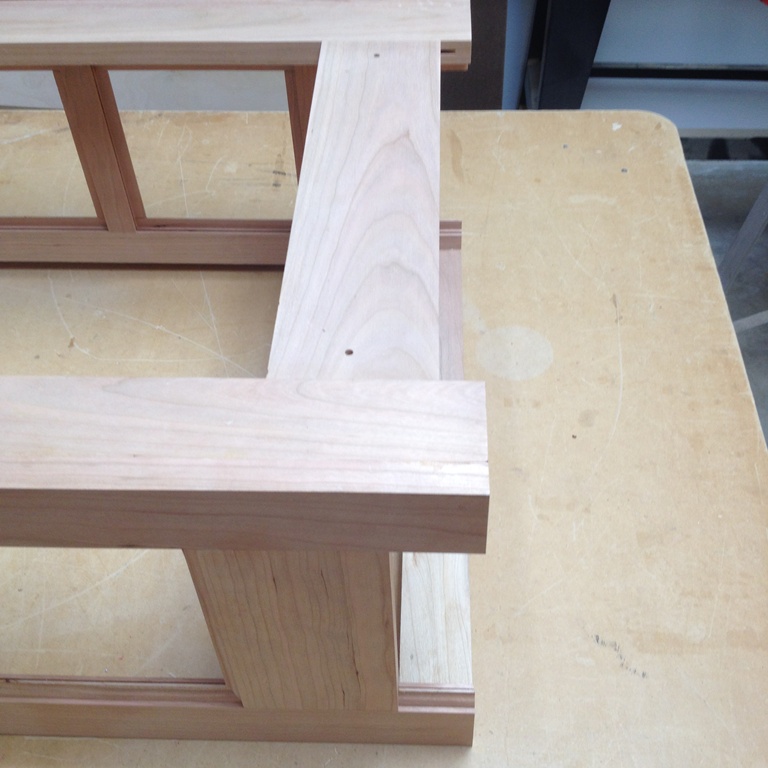
-

- The first tier simply wraps the base.
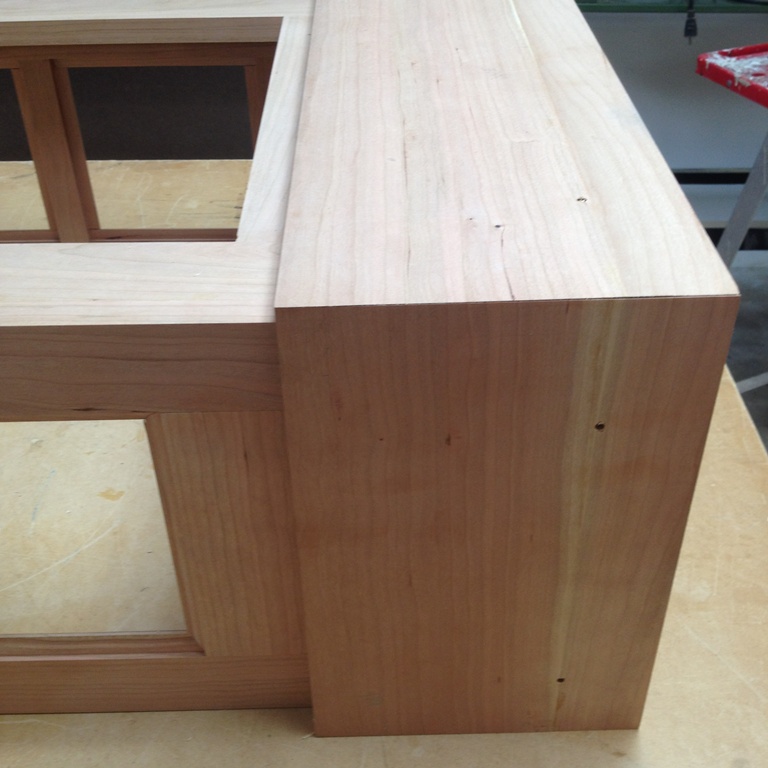
-
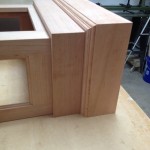
- The second tier is a multi-layer process that overlaps the first tier.
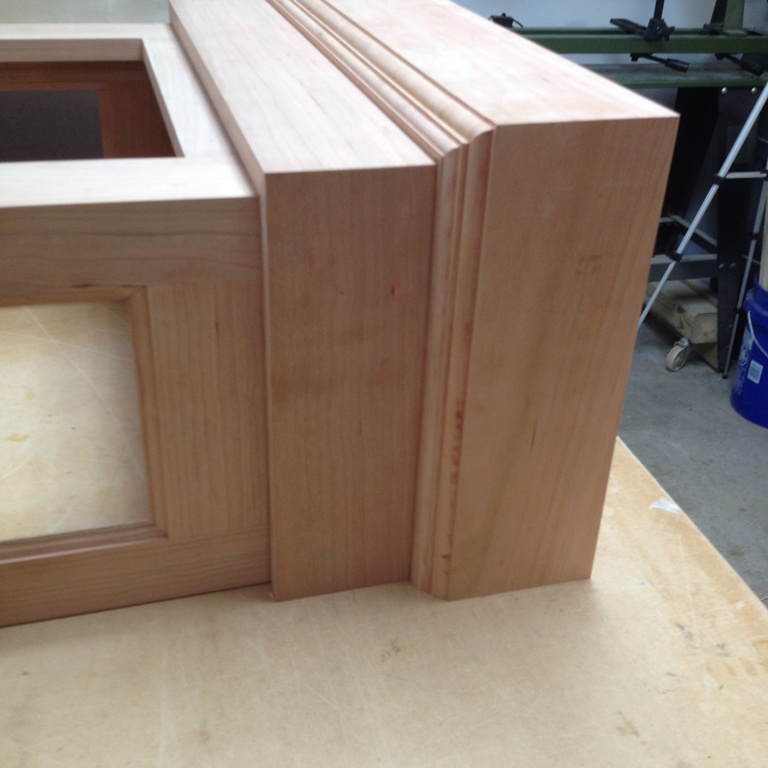
-

- The finished base.
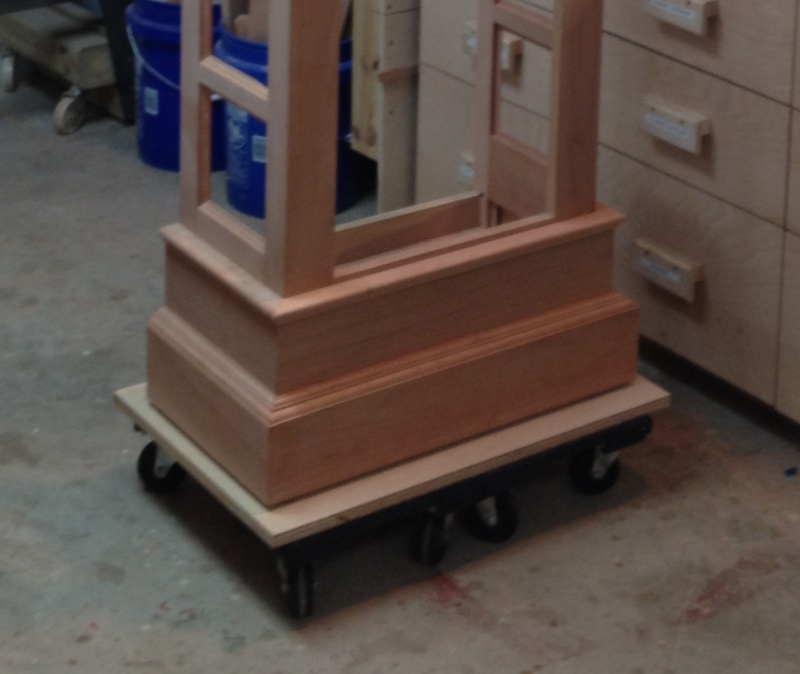
The cabinet and the base trim are complete!
The second tier is actually two boards that make up the required 1-1/8″ thickness. To achieve the profile, I cut one piece 1/2″ thick and the other, 5/8″ thick. Once the contour was milled on each piece, I glued them together to create one thick piece with a grand profile. Woodworkers Guild of America has an excellent video explaining how to make this very part.
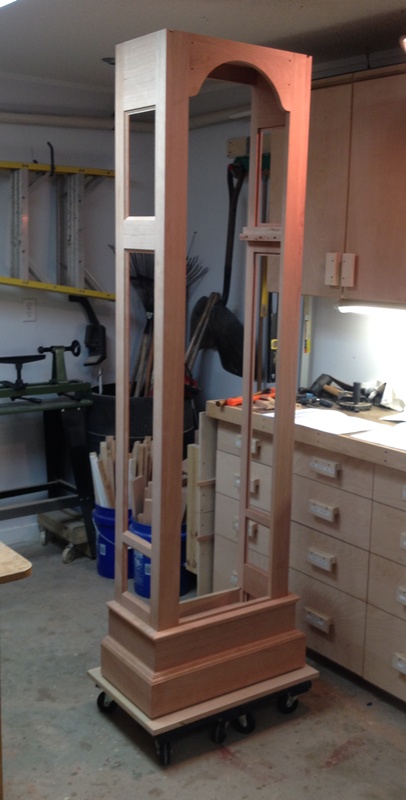
After adding this tier, I glued and screwed the base surround to the case assembly and finished it off by adding a top molding and adjustable feet. At right is the finished base of the clock.
Once the base was attached, the clock became too heavy for me to move around easily. Since most of the work from here will be on the top half of the clock, I stood it on a couple of moving dollies.
The next step is to make the fluted columns to adorn the front side of the cabinet. This part of the build will include a video, showing an inside look at the multiple steps it takes to turn square wood into perfectly round cylinders with precisely placed grooves.
Happy Woodworking!
Randy
Read Part 2 here.
Read Part 4 here.
 Disclosure: Klockit has provided me with a copy of the Columbia clock plan and components in exchange for providing a blog series of the build. I received the products at a discounted price and am under no obligation to return them.
Be the first to comment on "Grandfather Clock Build – Part 3, the base"