This is a milestone for this project!
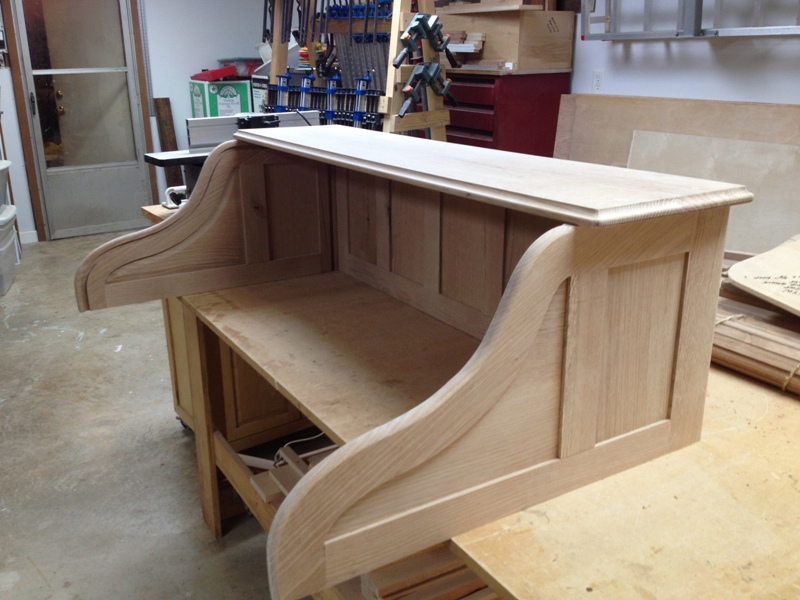
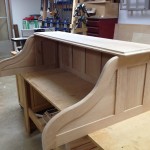 I spent the weekend gluing up the parts for the sides of the top section of the desk. Then I cut grooves that will accept the tambour and the back panel.
After sanding the sides and back panel to a smooth 220 grit, I glued the parts together.
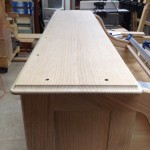 The top required a bit of profiling to round over the sharp edges and give it a smooth look. It took three separate bits and procedures. You can see the finished profile at right (Click on image for a larger view).
The plans called for screwing the top to the side assembly, then “plugging” the holes with wood.
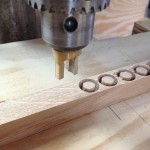 I took a scrap piece and used my plug-cutting bit to produce the pieces that would fill the screw holes. I glued them in and sanded them flush with the top.
Click on the top photo in this blog for a larger view and see if you can see the plugs!
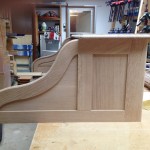 At right is a side look at the finished top section. I’m glad to get this part of the project behind me. The curved sides were a test of patience and skill!
When I stepped back to look at the completed top section, it was the first time I realized just how large (and heavy) this desk is going to be!
The next phase of the project is to make the rolling tambour. In preparation for this critical and unforgiving task, I built three small Secretary Rolltop desks. The tambour uses canvas and contact cement to “glue” 28 small individual slats together. Anyone who has ever used contact cement will tell you there is zero margin of error.
Thanks for reading and stay tuned for the next edition!
Read Part 8 here.

Be the first to comment on "Rolltop Desk Build Part 7"