A few weeks ago, I asked a friend if he’d like to learn a little bit about woodworking. I told him we could build whatever he wanted, I would cover all the costs and he could keep the project if he would agree to work along side me during the build. His wife chose for us to build a baby cradle for future grandchildren.
For two Saturdays and a couple of short evenings, I spent time teaching him the basics of the woodworking craft. That’s how I make good friends, that’s how I share my hobby.
Here’s a quick snapshot of our build:
The legs
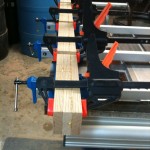
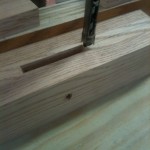
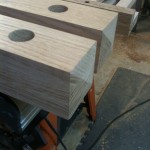
After planing down several boards to 3/4″ thickness, we glued up stock for the legs. In the illustrations below, we cut mortises for the feet and stretcher to be attached later. We followed up by drilling holes to accept the pivot mechanism that the actual cradle will swing from. We topped it with a nice, decorative chamfer on the top of the legs.
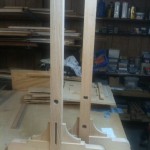
- Gluing up stock for the legs.
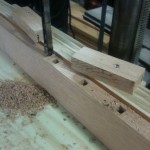
- Cutting a mortise for the stretcher.
- Drilling a hole for the pivot pin.
- Chamfering the tops.
The feet
Next, we cut the feet that attach to the legs and give the cradle a stable base. Once they were glued in place with mortise and tenon joinery, we added a decorative corbel to strengthen the joint. Lastly, we added the stretcher to tie it all together. The stretcher is glued in place and reinforced with a long lag screw.
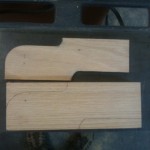
- Profiling the feet
- Before and after
- Legs with feet and corbels attached
- Adding the stretcher
Now for the cradle
We began by cutting the top and bottom rails, and the spindles that make up the sides of the cradle. The spindles are evenly spaced and glued into the rails for a solid connection. We finished off by rounding over the edges of the top and bottom rails.
- Marking the top and bottom rails for the mortises
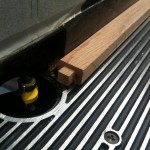
- Cutting the mortises. Notice we’re making square holes!
- The spindles need tenons on each end to fit into the square mortises
- Softening the edges of the spindles with a roundover bit
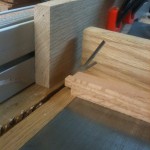
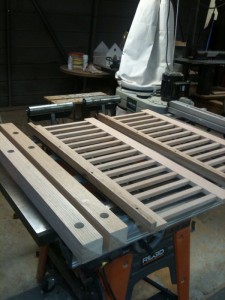
Here’s what the sides look like when put together. Notice we added a strip of wood on the lower rail. This will hold a piece of plywood for the bottom of the cradle.
The cradle end panels
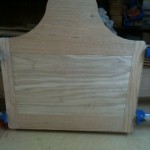
We started by creating two end panel frames using what is know as stub mortise and tenon joinery. This creates a solid frame for the panel insert. After cutting a pattern on the tops of the sides, we drilled the hole that the cradle will pivot on after being connected to the leg frame. Once the top was milled, we added the side panel insert and glued the frame together.
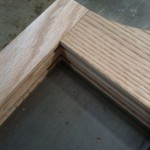
- Stub mortise and tenon joints
- Drilling pivot hole for the top of the ends
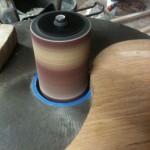
- Sanding and smoothing the sides
- All glued up!
Putting it all together…
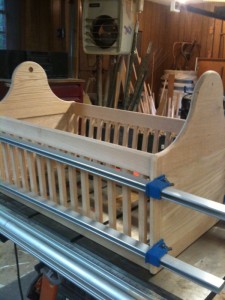
To connect the sides to the end panels, we drilled screws through the end panels and into the side rails. We used two wood screws on each rail. To hide the screws, we drilled countersink holes for wooden buttons to cover the screw heads, which gave it a nice, finished look.
- Aligning the parts together with clamps
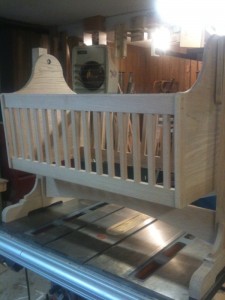
- A test run to make sure everything fits together…
- and it does!
The finish…
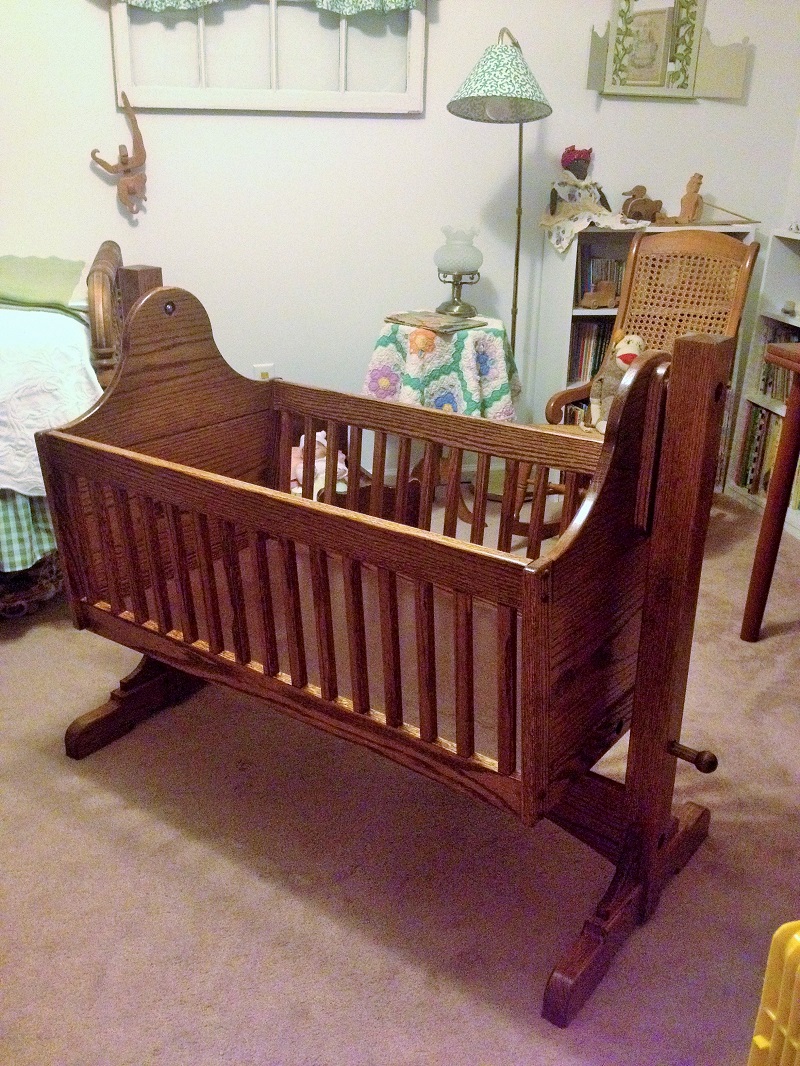
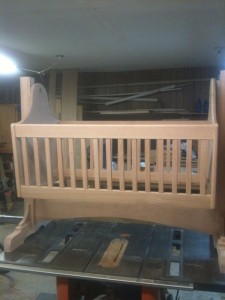
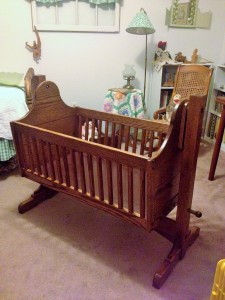
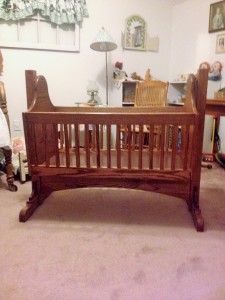
A coat of Early American stain and three coats of semi-gloss polyurethane gives this cradle a warm, inviting look. Once the mattress is added, it’ll be ready to rock-a-bye baby!






Beautiful…. such a fine job.
Nice cradle, but how/from where do I obtain the plans?
I know this is old but do you have a set of plans? I’m still new to woodworking and can’t quite “figure it out”. TIA
I know this is old, but are there plans for this? Thanks
Here is a link to the place I bought the plans – https://furnitureplans.com/products/heirloom-cradle
The plans are a God-send. I ended up creating a very similar cradle to one that I built over 20 years ago (from very detailed plans and patterns), from old photos, memory, available mattress sizes (very important) and about three measurements, just for verification, that my son was able to get from his disassembled cradle in storage.
I also located the stretcher a bit higher so it would limit the swing. Because, with two older brothers, I didn’t want them to try to make it a Ferris Wheel ride for our new baby daughter.
I wish I could figure out how to include a photo of it.
thank you – it’s much appreciated.
Maybe this will work for a photo of the cradle I built from memory and photos =)
https://www.facebook.com/photo.php?fbid=10226529729763289&set=pb.1046991588.-2207520000&type=3
Would you have a material list and plans