

The plans for the grandfather clock are the most detailed I’ve ever worked with. The designer, Mr. Cooper, left nothing out. It’s actually three separate plans in one – individual parts, assembly, and blueprints for several “hard-to-make” parts. After pouring hours of time into studying them, I have realized why a grandfather clock is so special. Not only are the mechanical parts of the timepiece designed with precision, the clock housing itself must be built to exact measurements.
I’ve built scores of pieces of furniture, but this is the first time the plans required parts to be milled within 1/32 of an inch. To give you an good idea of just how precise that is, a 1/32″ is about the same distance as the space between two letters in any word on this page. I like that because it challenges me to become a better woodworker.
The first step in building the grandfather clock is to create the basic frame consisting of a front assembly and two side assemblies. To insure consistency in wood grain and color, I was able to cut all of the parts for each frame from a single cherry board.
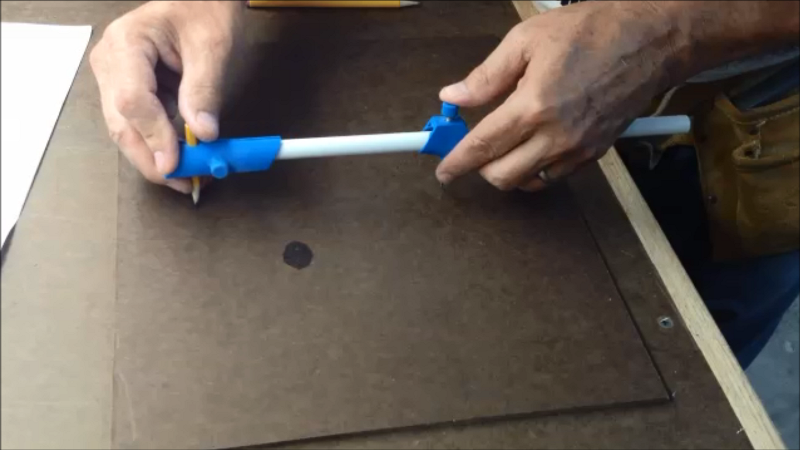
Marking the arch template pattern on hardboard.
The front frame called for an arched top rail. I cut a template, or pattern, of the arch from 1/4″ hardboard. Since a little geometry is involved, if there were mistakes to be made, I want to make them on a low-cost piece of material.
Once the template was cut, I was able to simply trace the pattern and cut the arch on the more expensive cherry wood. You can watch a video of this process here.
I’ll be covering how to make one of the more elaborate arch templates in a future video. On the paper plans, it looks overwhelming, but the process is really quite simple with the plans!
 The two side frames will accept glass and raised wood panels. This is the first time I’ve cut what’s referred to as “rail and stile” joinery. This is a very strong joint. Quality kitchen cabinet doors that include a raised panel feature use this type of joinery.
The plans called for a bit with a certain profile. Since it was out of stock from the manufacturer, I opted for a fancier “roman ogee” profile from another company. I was pleasantly surprised at just how easy the cutting process was.

Gluing the three frames together.
Because this alternate bit was of a different size than the ones the plans called for, I had to adjust the size of the frame pieces to account for the added width of the bits.
With all the parts cut and the milling done on the router table, I glued the front frame together, then moved to the two side assemblies. After letting the glue dry overnight, I carefully marked and pre-drilled holes in the frames that will be used to attach the elaborate trim and moldings that come later in the project.
 Once that was complete, I assembled the three frames into a single unit. Then, I added two back braces for additional strength.
For the first time, I was able to stand the frame upright on the floor of the shop. This is when I realized just how large, and impressive, this clock will be!
With the main frame finished, the next step will be to build the beautiful base moldings around the bottom of the clock.
Happy Woodworking!
You can read Part 1 here.
You can read Part 3 here.
 Disclosure: Klockit has provided me with a copy of the Columbia clock plans and components in exchange for providing a blog series of the build. I received the products at a discounted price and am under no obligation to return them.
Be the first to comment on "Grandfather Clock Build – Part 2, the Frame"